German style bread is one of my staple foods. Since living in the US it has become even more important: it’s really difficult to get good bread here. If you want to bake your own, here’s my recipe.
This recipe is designed to be simple to bake and tolerates a wide range of changes to weights and times, even by accident. This is a good starting point without getting into more complex techniques. Initially try to follow times and weights as specified, but adapt it over time to your taste, rye flour and oven.
I’m writing this with a US perspective in mind, so some things like using bottled water instead of tap water might seem strange for my German readers.
There’s a lot of text here. But after a while this recipe is really easy.
Overview
To bake your own German style bread you’ll need the following:
- salt
- non-chlorinated water, e.g. bottled spring water
- rye flour
- dark rye flour works well, though it’s not standardized
- back in Germany I used German type 1050, but this does not seem to exist in the US
- bread flour mix (pretty much anything will do)
- sunflower seeds, flax seeds, hulled sesame seeds
- neutral vegetable oil
- rolled oats
- a baking mould
- a scale. You might need to convert grams to ounces
- a few glass containers
Sour Dough Starter
Before you can make a sour dough bread, you need a sour dough starter. If you already have one and know how to maintain it, you can skip this section. Otherwise read on.
A sourdough starter is a mix of rye flour and water that is the perfect breading ground for certain useful bacteria. To create your own sourdough starter take a glass container and add 3 parts of water and 1 part of rye flour to it. For example 75 ml (or grams) of water and 25 grams of flour.
Keep it at a warm (25°C) and dark place for a few days. A kitchen cabinet might be fine, if it’s warm enough. Eventually bubbles will form. Feed it equal amounts of water and rye flour on day 4, 6 and 8. By now it should smell sour. A bit of a bad smell is normal, this will go away over time.
Now you have your first sour dough starter. Put it in a clean glass container and put it in the fridge. Ideally weekly, but at least every 14 days, feed it: Add equal amounts of water and rye flour to it and put it back into the fridge. If you wait to long with feeding it will tell you that it is “hungry” by forming a clear, liquid layer on the top.
Usually every two to three weeks I start again with a clean glass container: Add a small amount of starter, add equal amounts of water and rye flour. Let it rest for 8 to 12 hours at a warm place and then move it to the fridge again. I’ll simply do this step over night.
This process improves your sourdough quality. Depending on the temperate it has when you let it rest. If your bread is not soft enough, let it rest at higher temperatures (up to 35°C, favoring yeast). If your bread is not sour enough, let it rest at colder temperatures or even in the fridge. Experiment.
I usually use 100 g rye flour and 100…120 ml water plus 15 g old starter to create a new starter. You will have to experiment with the amount of water, to get the right consistency with your rye flour.
It is essential to always keep your sourdough alive. This is your sourdough and you’ll use it whenever you want to bake bread.
(pictures to be added)
Ingredients
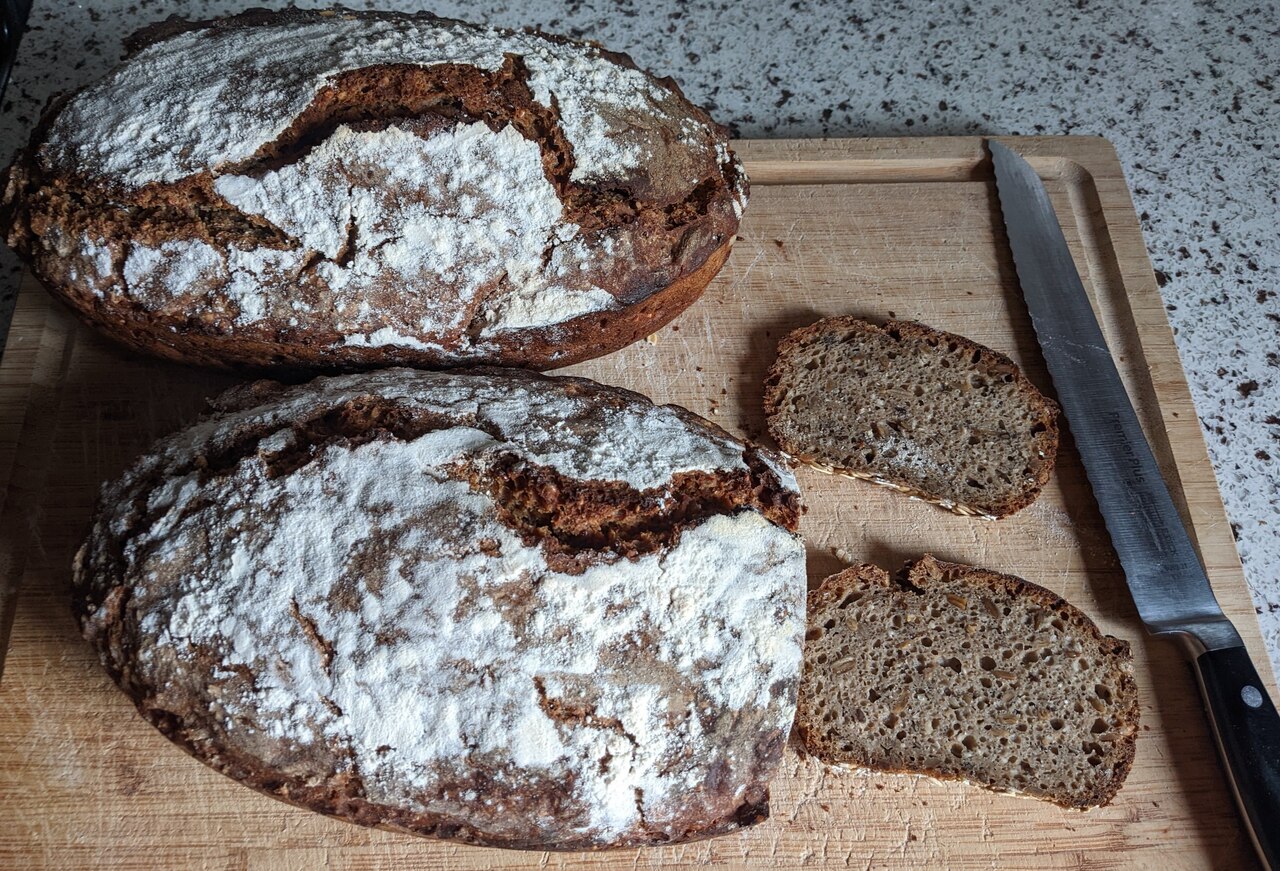
This makes 2 loaves of bread, each about 1.2 kg. You can half this recipe if needed.
- pre-dough
- 670 ml non-chlorinated water (bottled spring water)
- 120 g sourdough starter (see above)
- 12 g salt
- 540 g dark rye flour
- main dough
- the above pre-dough
- 650…700 ml non-chlorinated water (bottled spring water), start with 650ml and add more later as needed
- 24 g salt
- 340 g dark rye flour
- 330 g bread flour mix
- 225 g roasted, unsalted sunflower seeds
- 80 g flax seeds
- 80 g hulled sesame seeds
- baking helpers
- neutral vegetable oil
- rolled oats
Recipe
It is crucial to adjust the baking temperature. Expect that your first two / three breads will either not be done or burned. It takes some experimentation and practice to get this right.
The temperatures below are right for the loaf size based on the total amounts above. If you significantly change loaf size, you’ll have make bigger adjustments to temperatures and times.
You will need a fairly large bowl. Assume that the dough will at least double in size.
- Add to a large bowl water, sourdough starter and salt. Mix well. Then add the rye flour. Mix very well. Consistency is very soft.
- remember to not use up all of your starter dough. You probably want to feed it or create a new one as well. See above
- Let the pre dough rest 8 to 12 hours (e.g. over night) at a warm place. After this time the dough will have fermented and is now ready to become the main dough. I use my oven with a slightly open door (stick a towel there) and the light on, but oven off.
- To make the main dough add to this bowl again water and salt. Mix well. Then add the rye flour and bread flour mix. Mix very well.
- Add seeds. Mix very well.
- Let it rest for 3 hours at a slightly warmer temperature. I use my oven with a closed door and light on, but oven off.
- Pre heat oven to about 215 °C / 420 °F. Adjust as needed!
- Prepare moulds by oiling them and adding a thin layer of rolled oats to the bottom. Transfer dough in equal parts to all moulds. Try to avoid pushing on the dough, otherwise it won’t rise nicely. Optionally smoothen the surface with wet hands. Always sprinkle flour (any kind) on top.
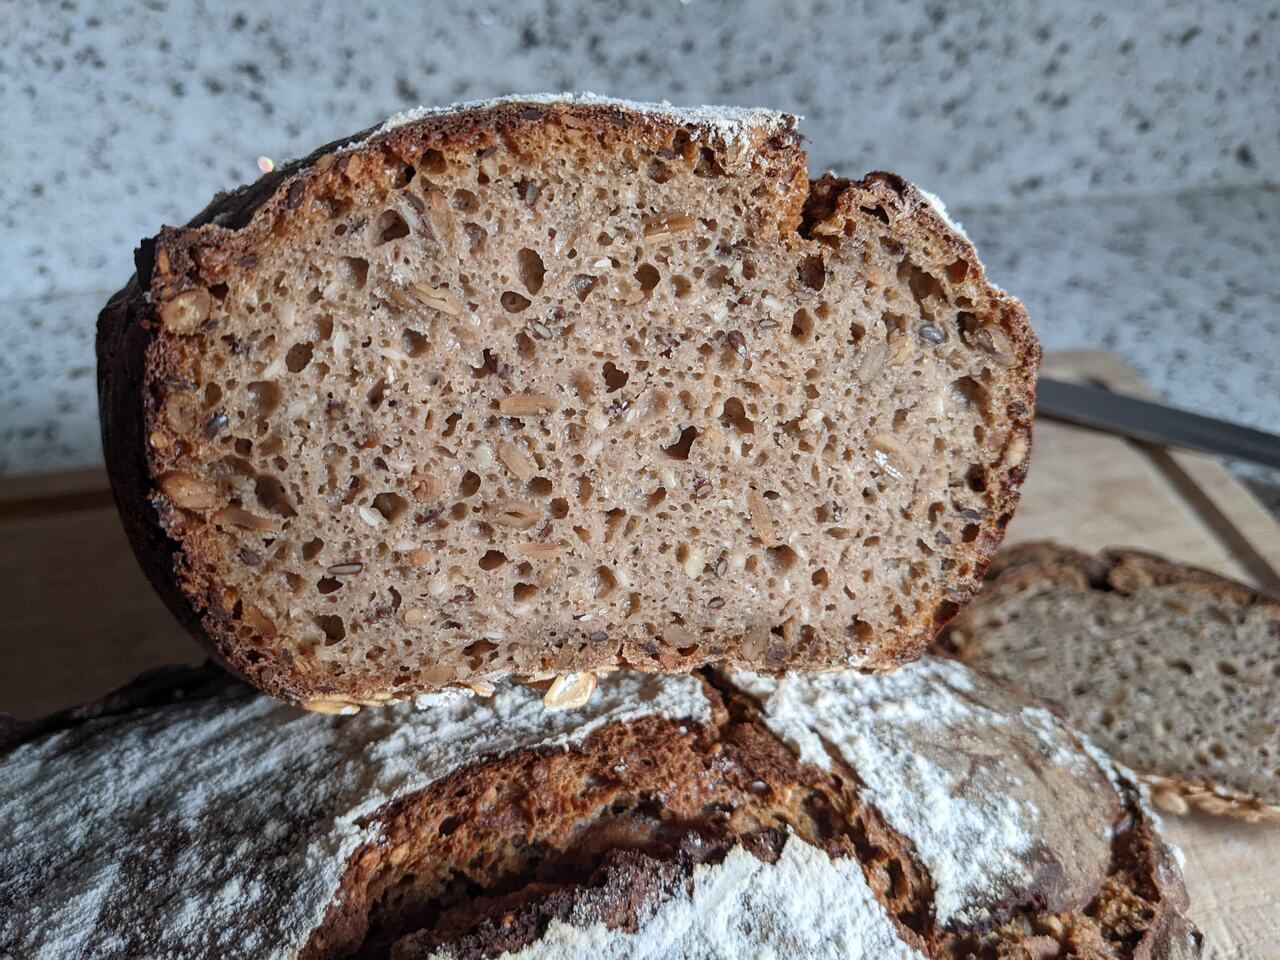
- Bake for 42 minutes at 215 °C / 420 °F. Adjust as needed!
- Reduce temperature to 190 °C / 380 °F and bake another 42 minutes. Adjust as needed!
- Remove bread from oven, take it out of the moulds and let cool on a cooling rack for at least 1 hour
Pictures
Starter
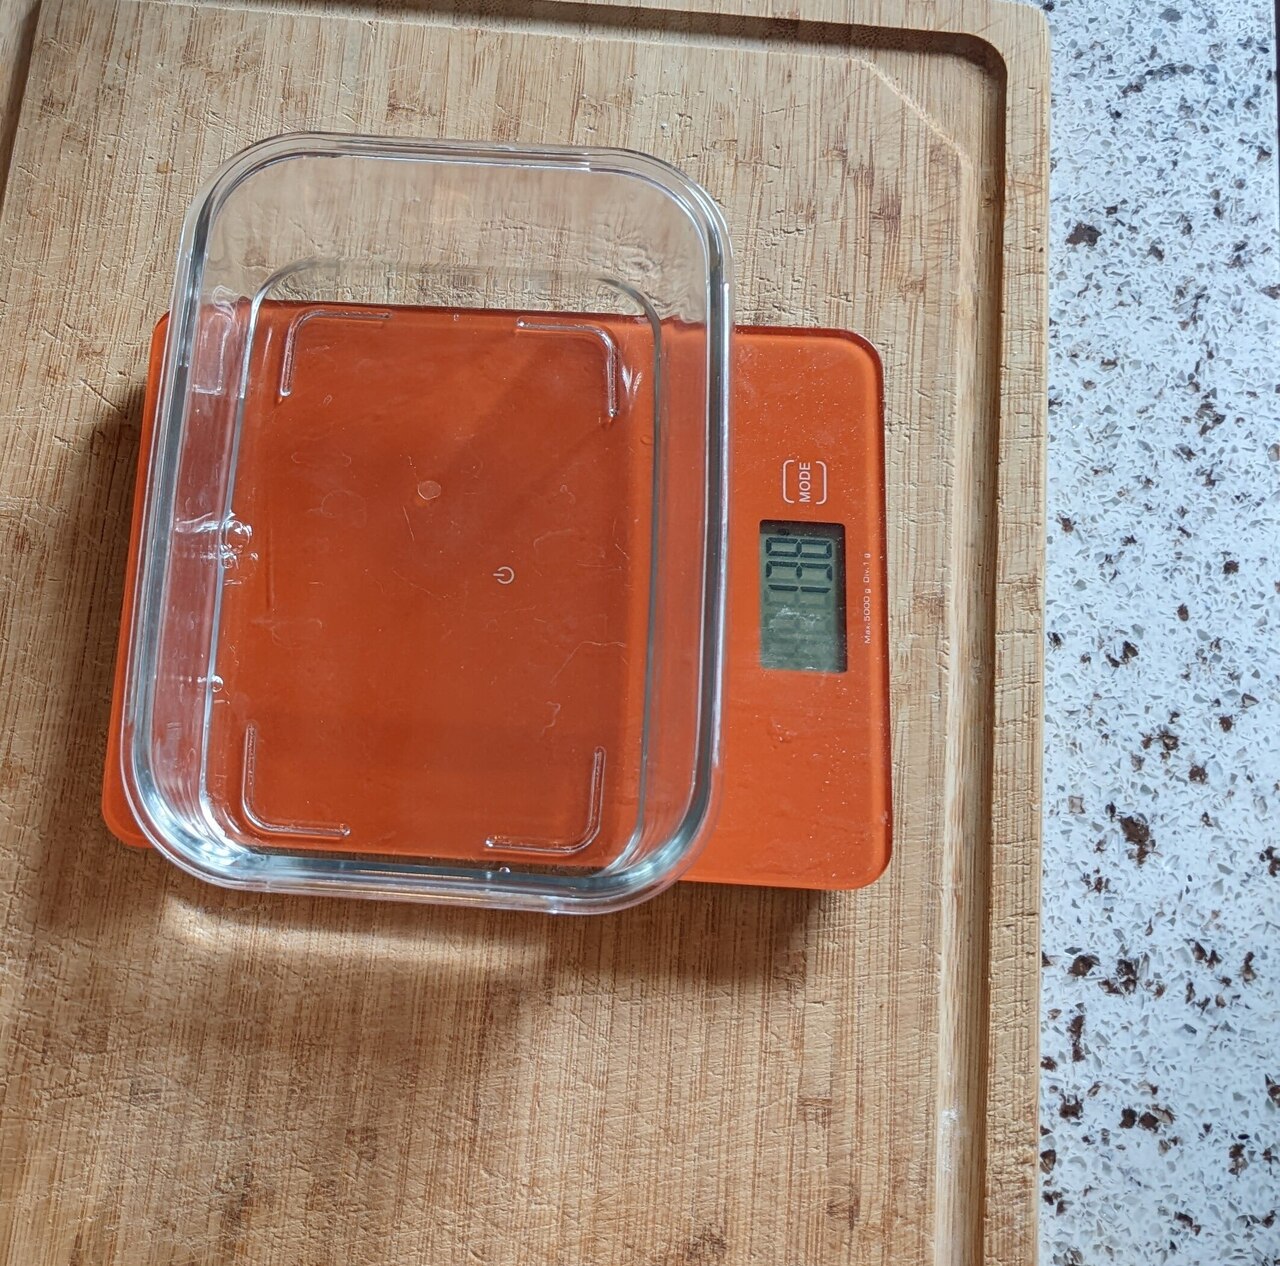
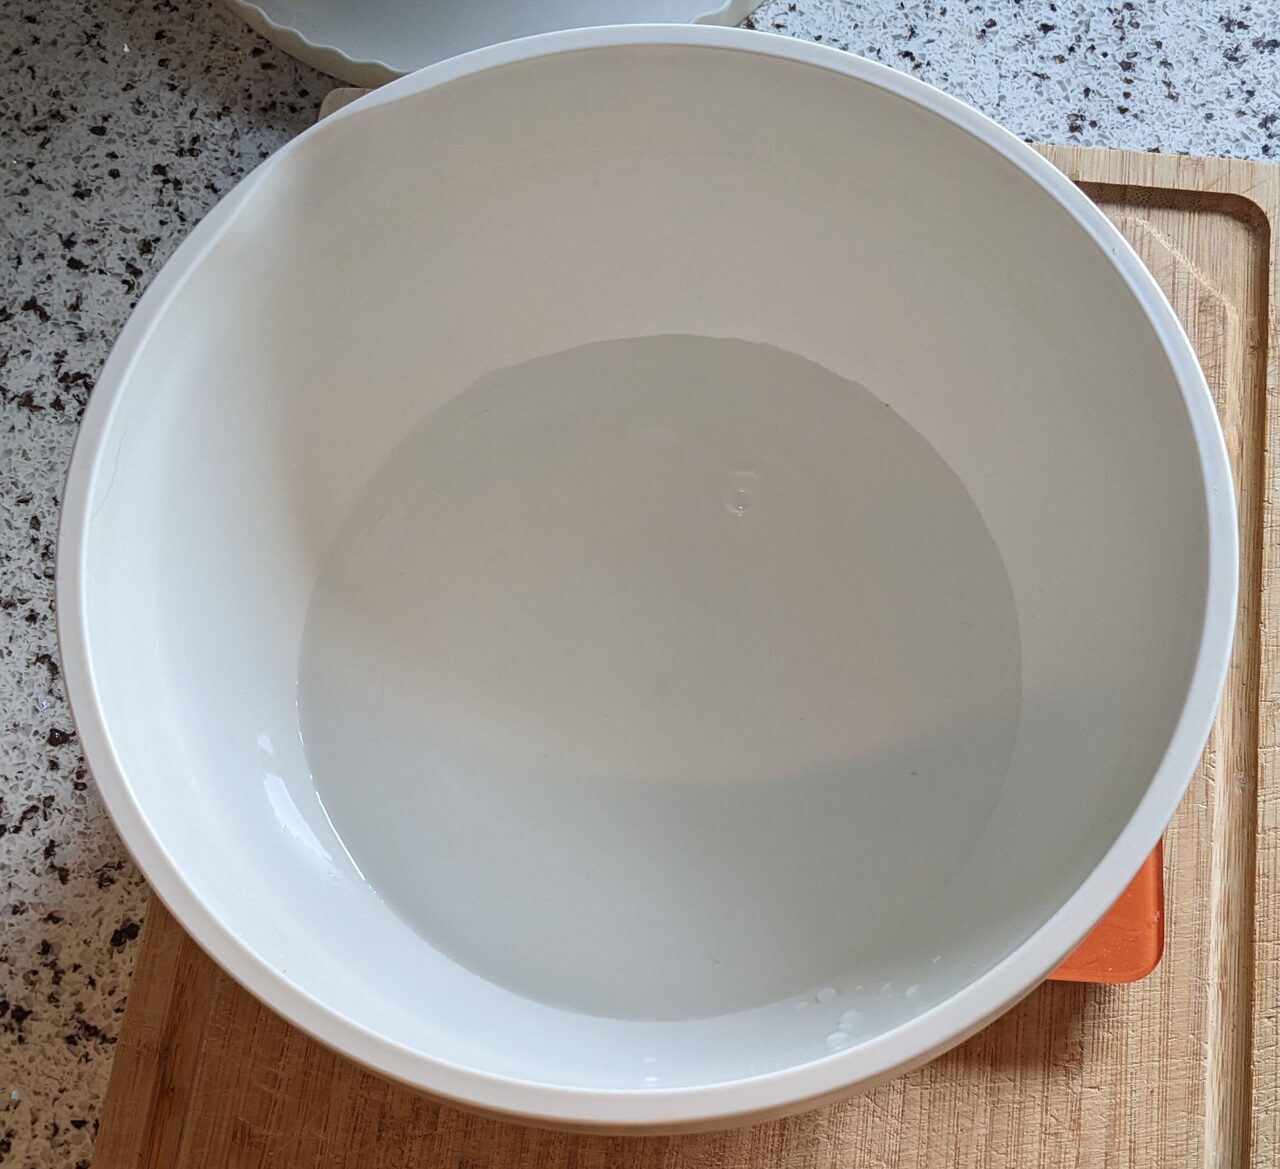
Add non-chlorinated water to a clean glass container

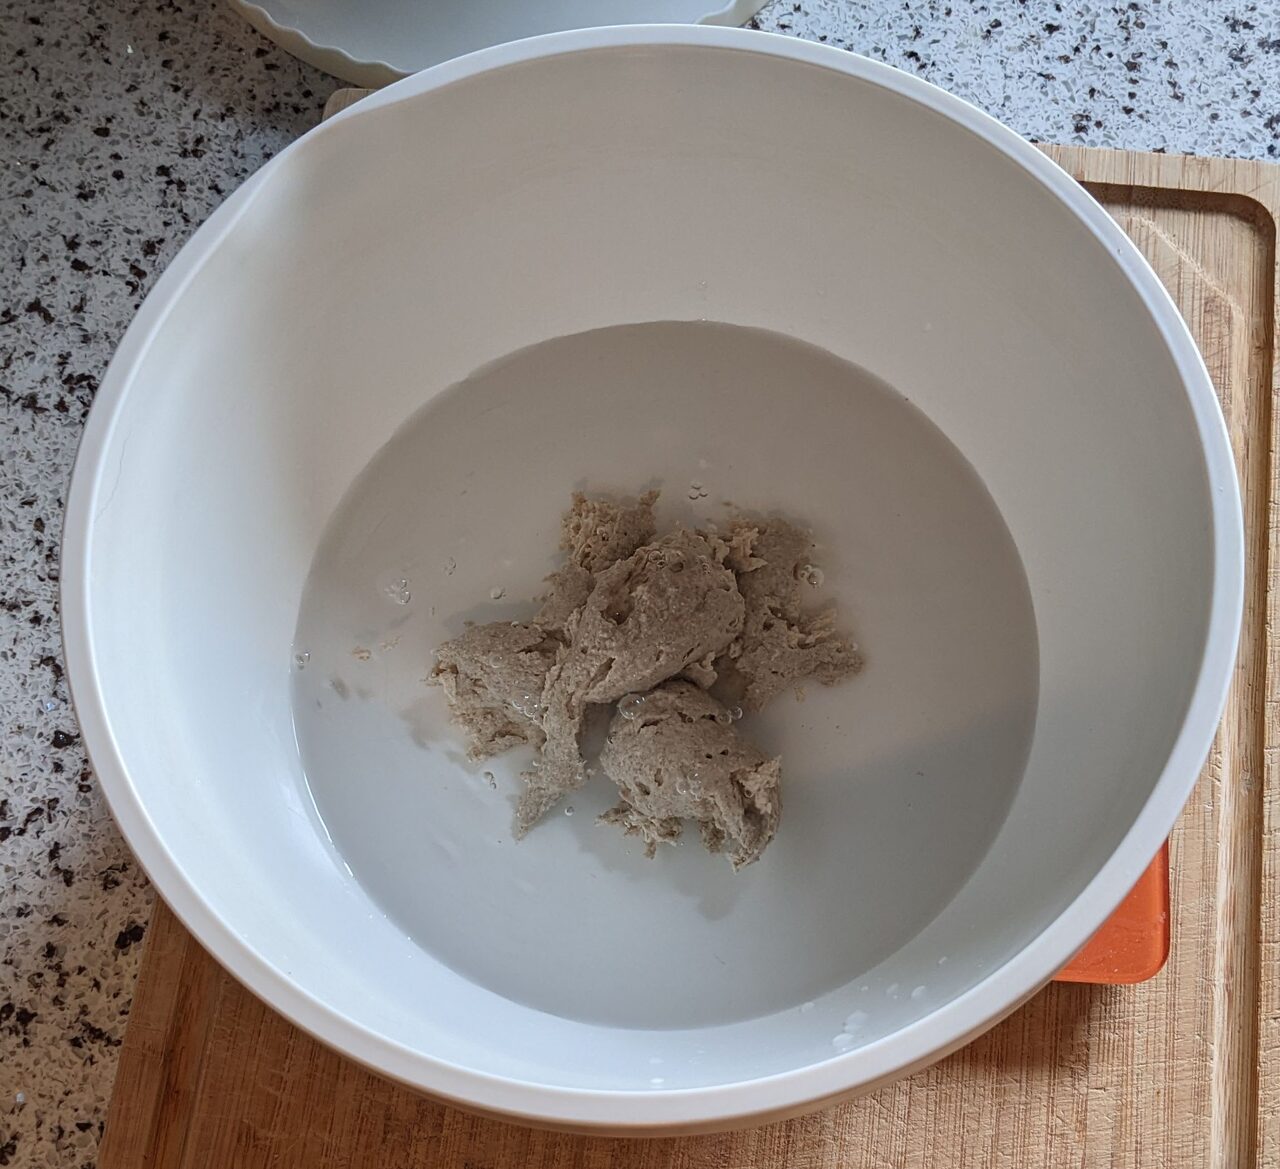
Add sour dough starter
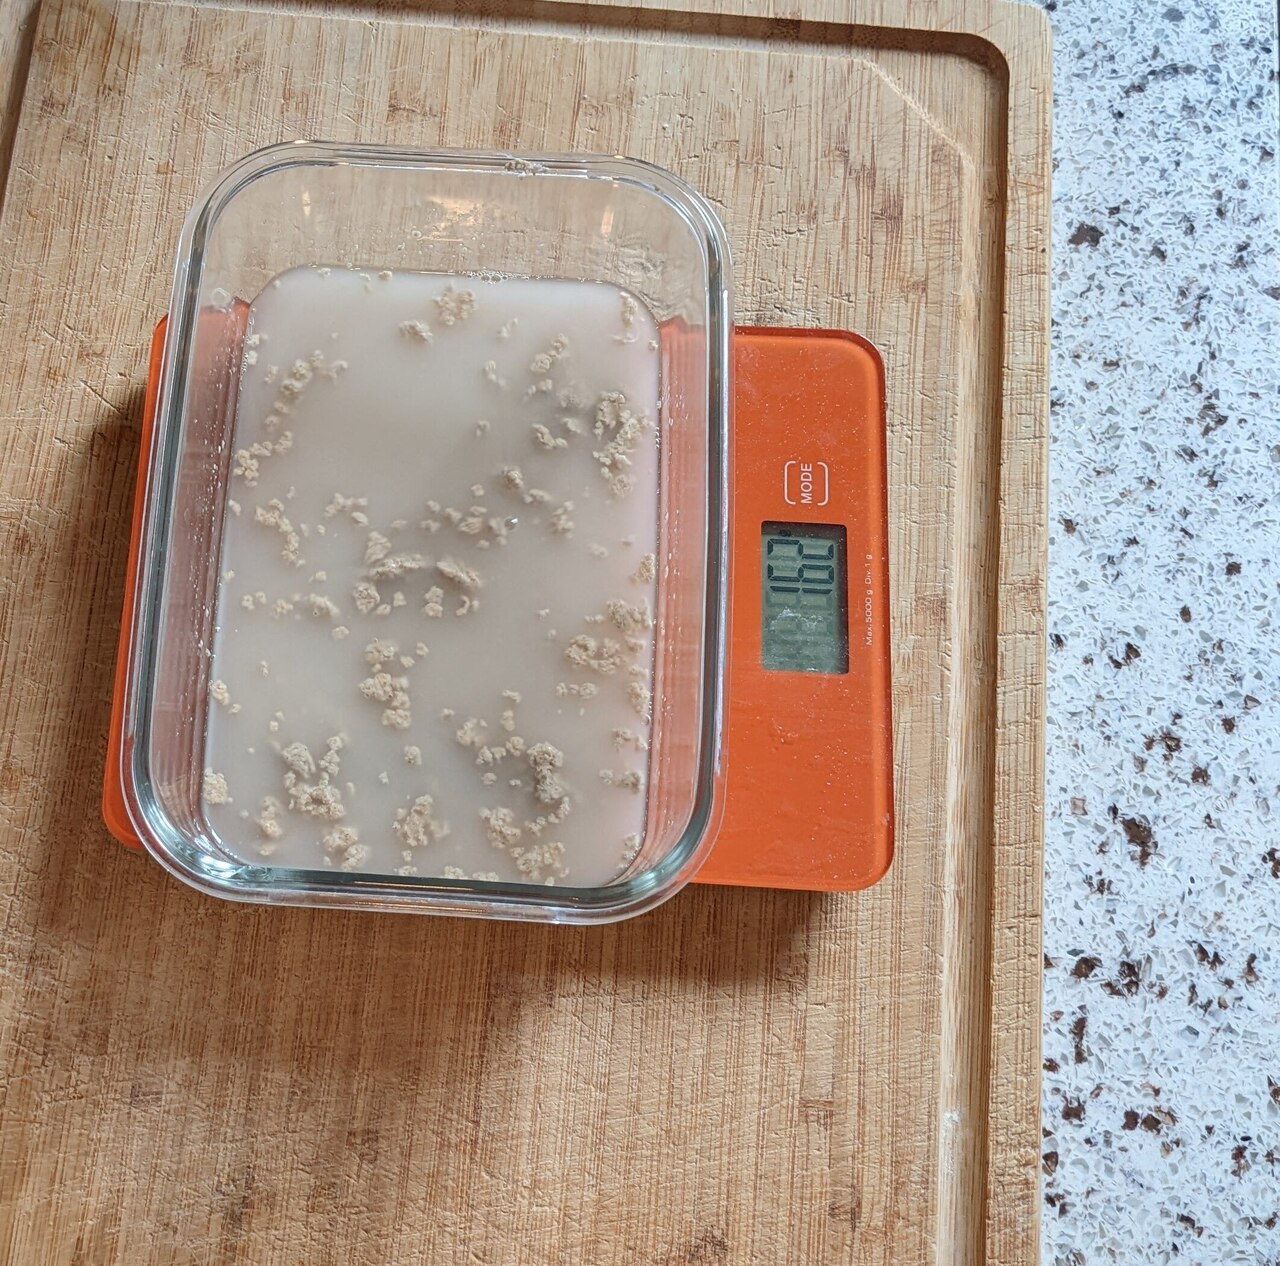
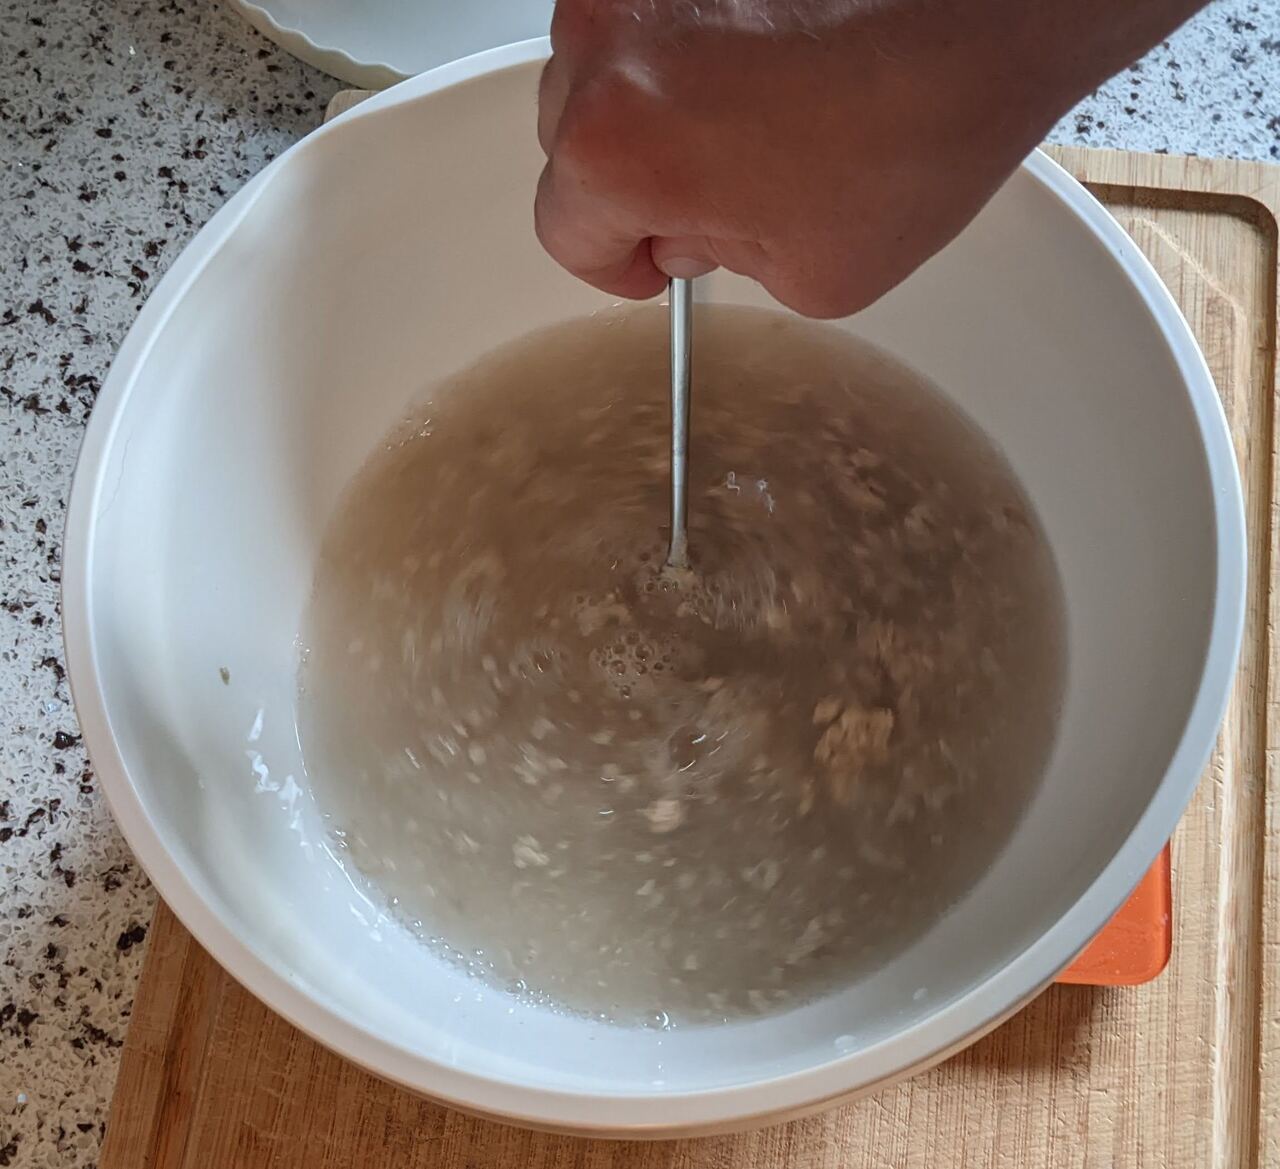
Mix well
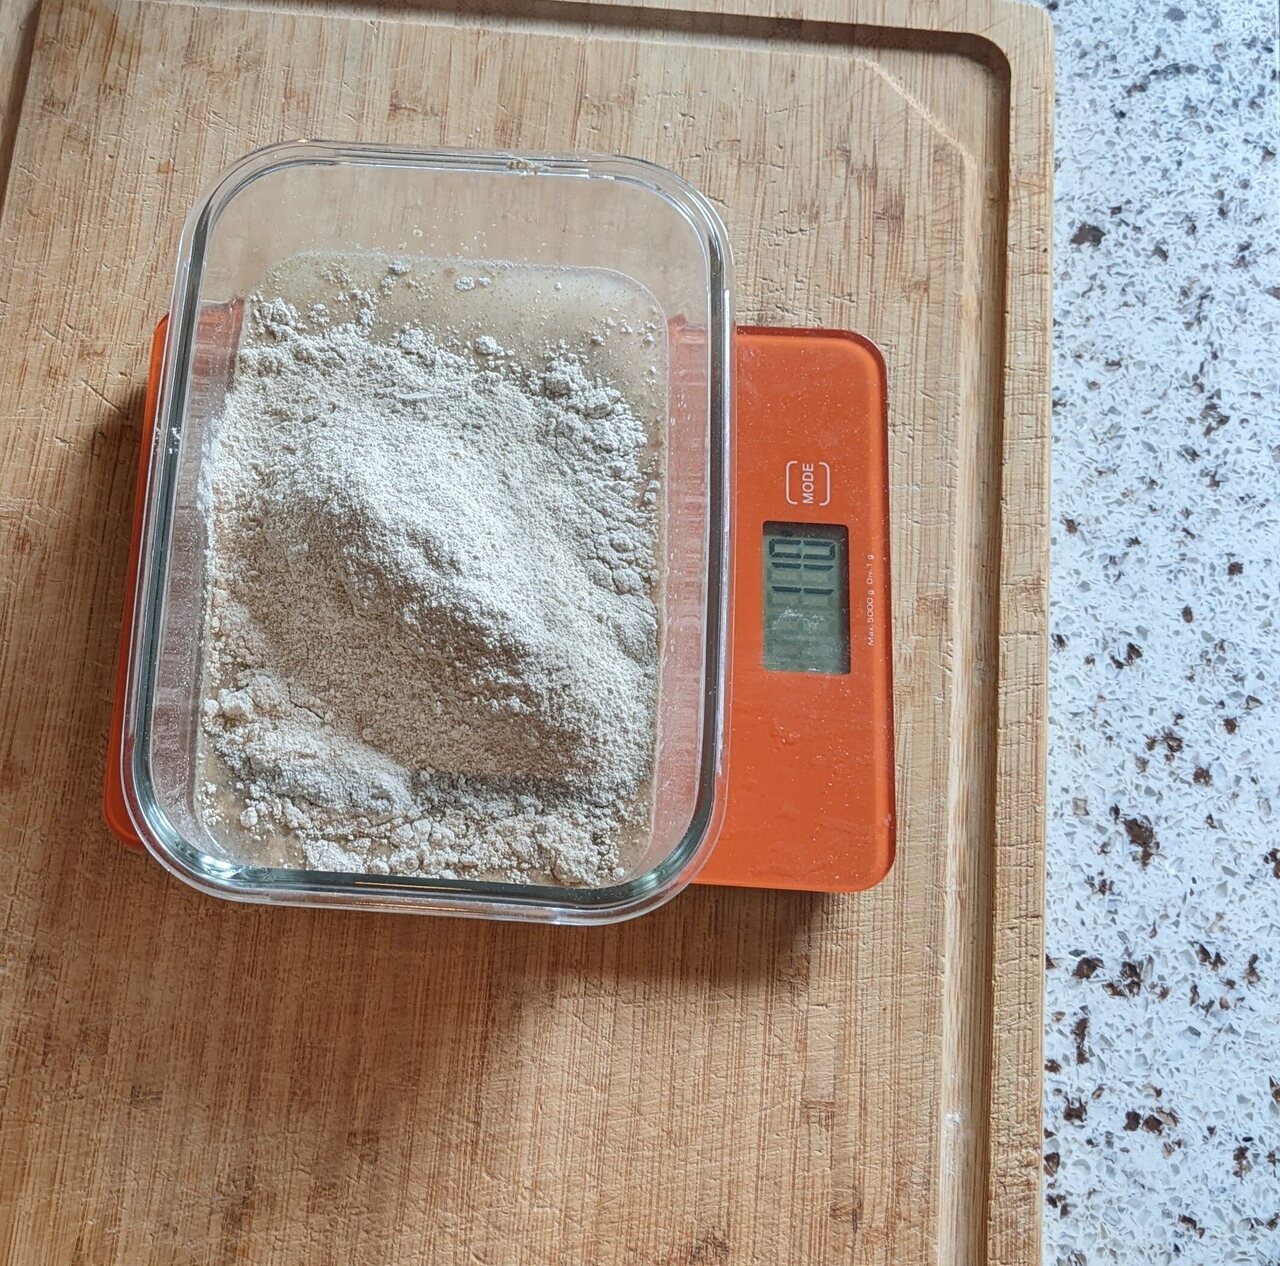
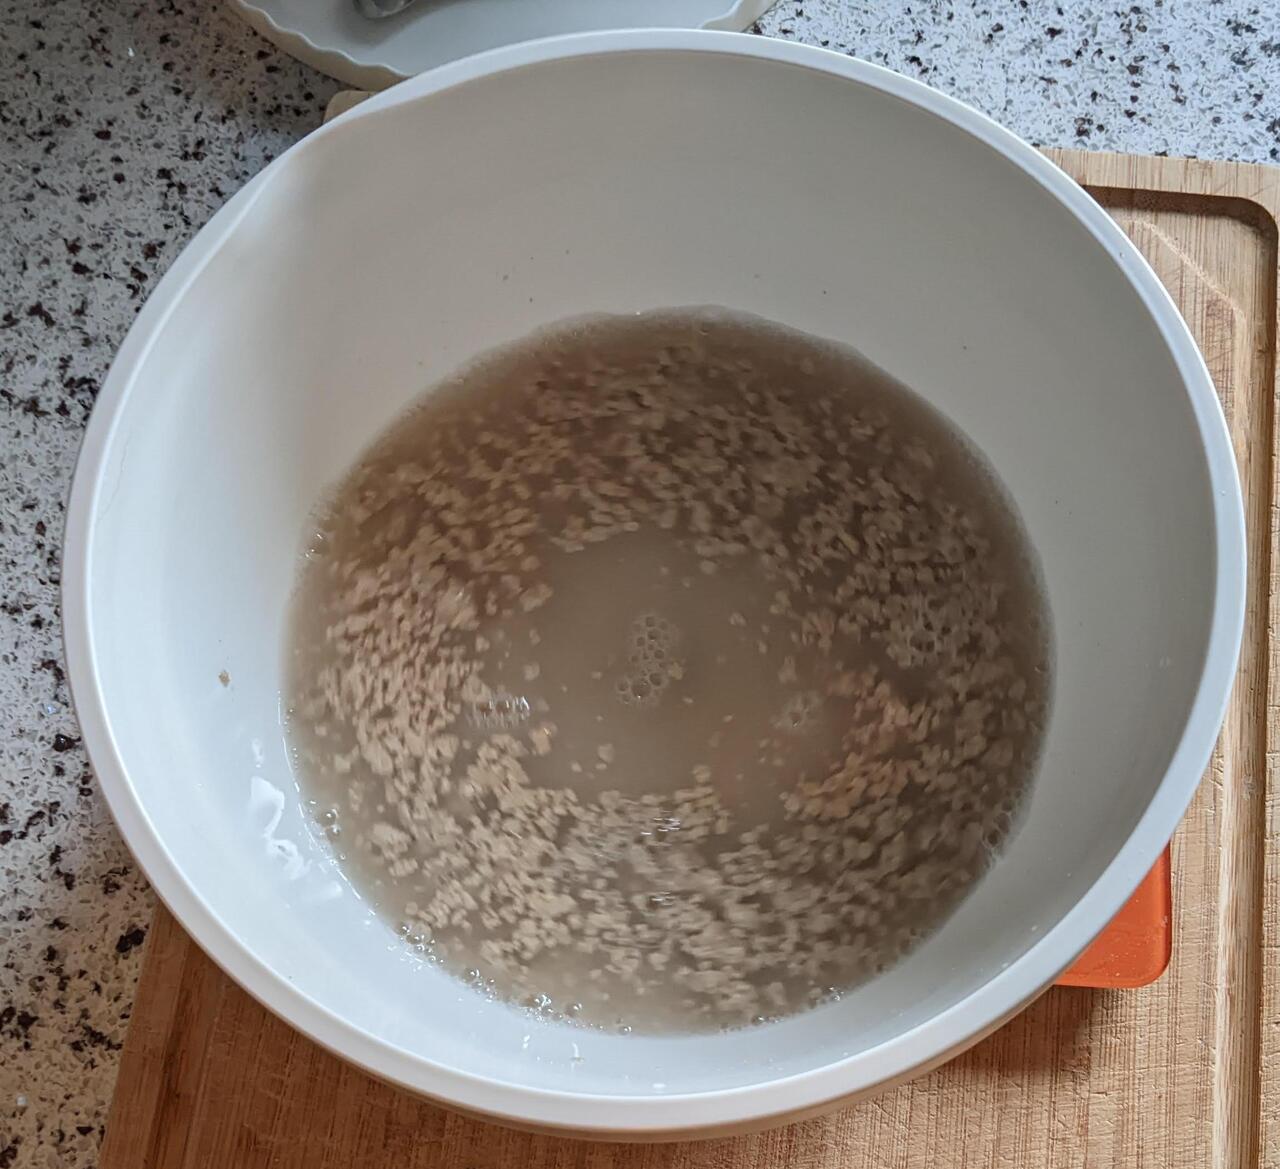
Add rye flour. Mix very well
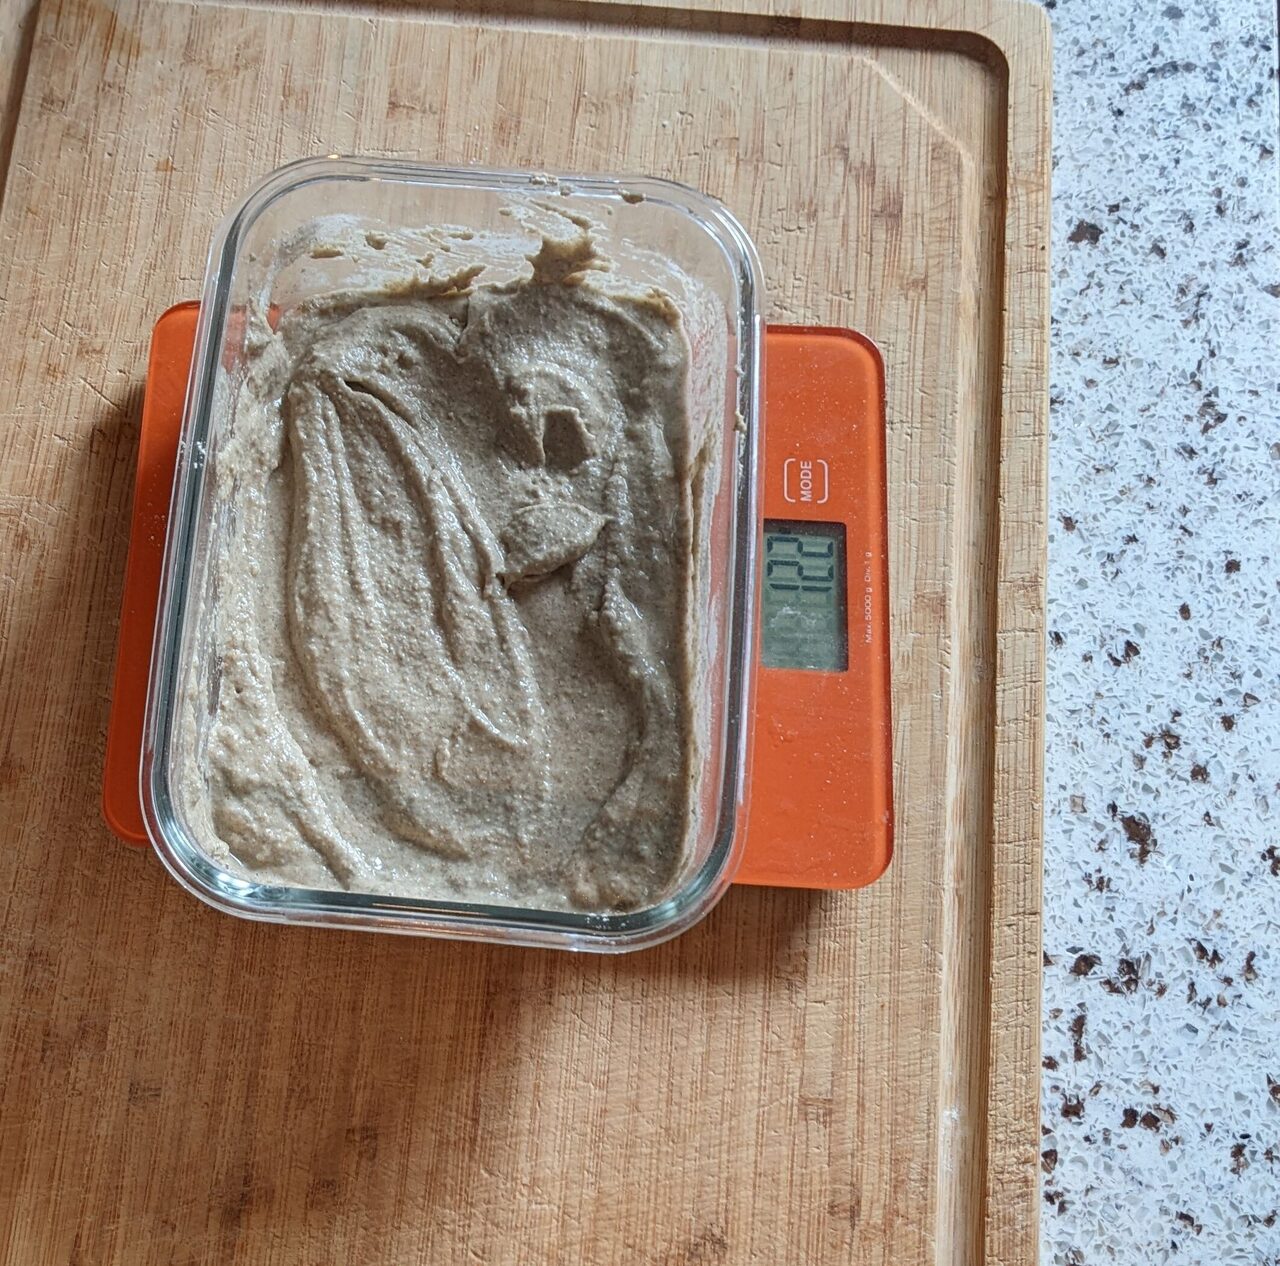
After mixing. Now let rest for 8 to 12 hours.
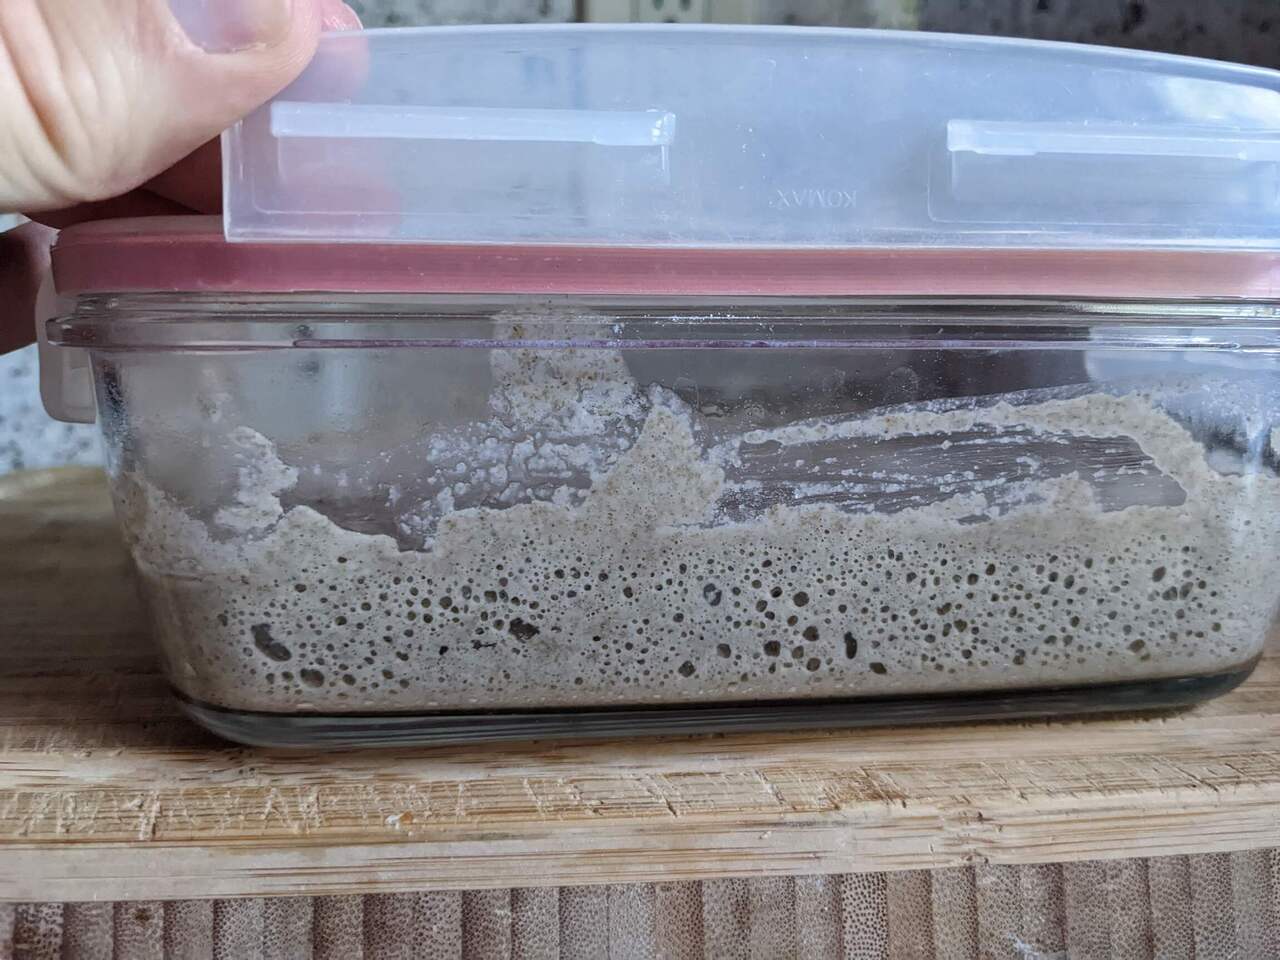
Dough has risen. Now store in fridge.
Pre-dough
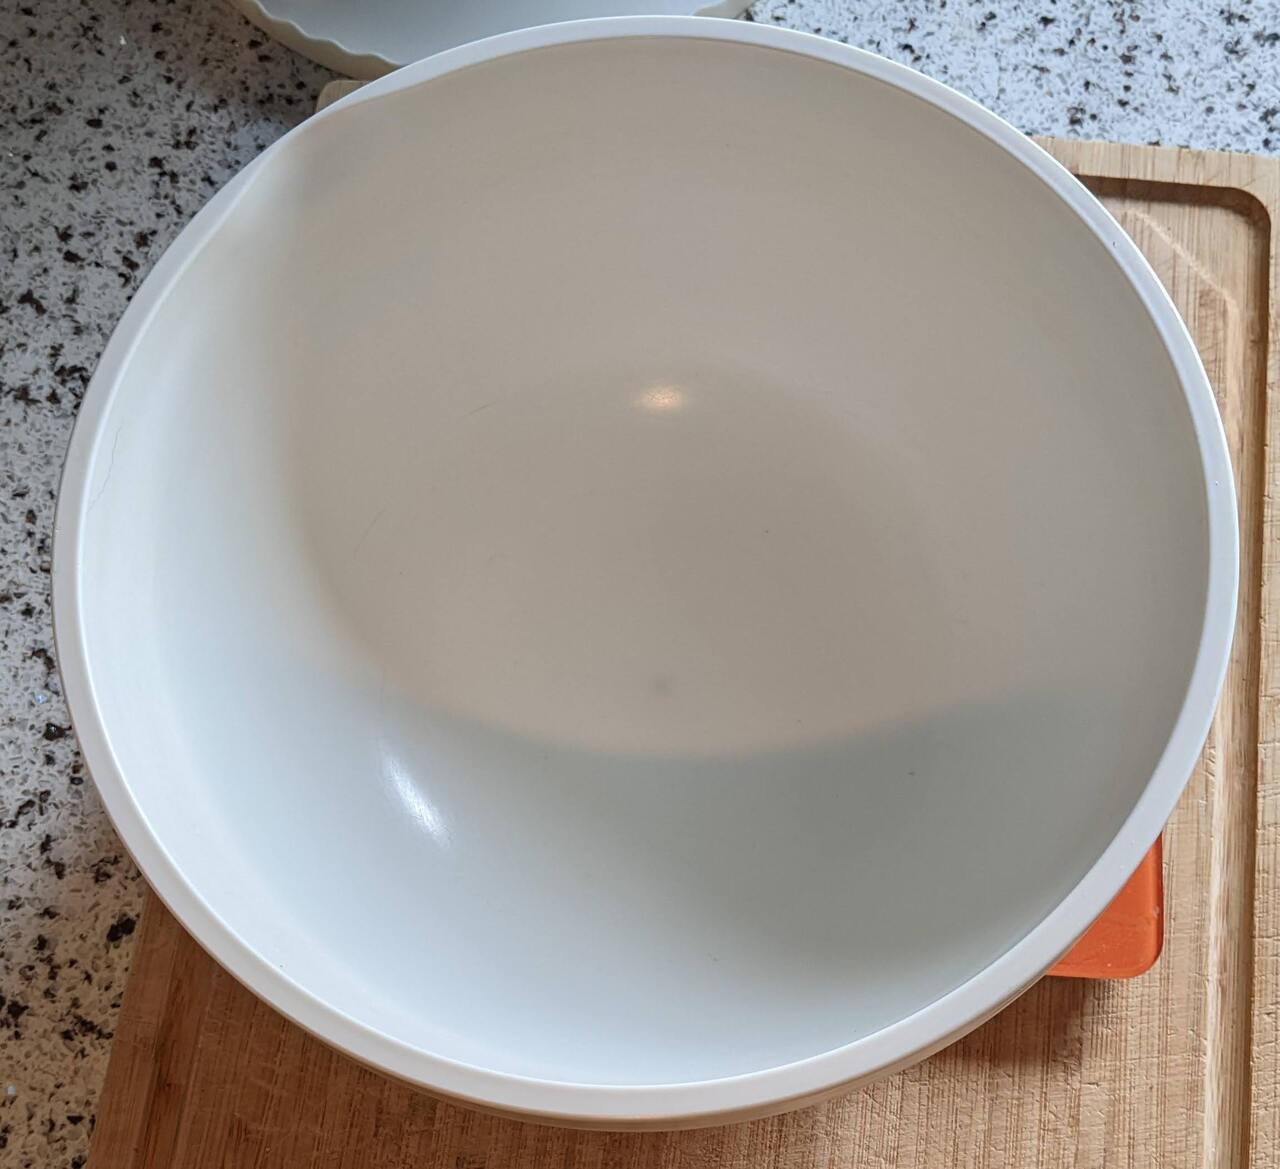
Start with a large empty bowl
Add non-chlorinated water

Add salt
Add sourdough starter
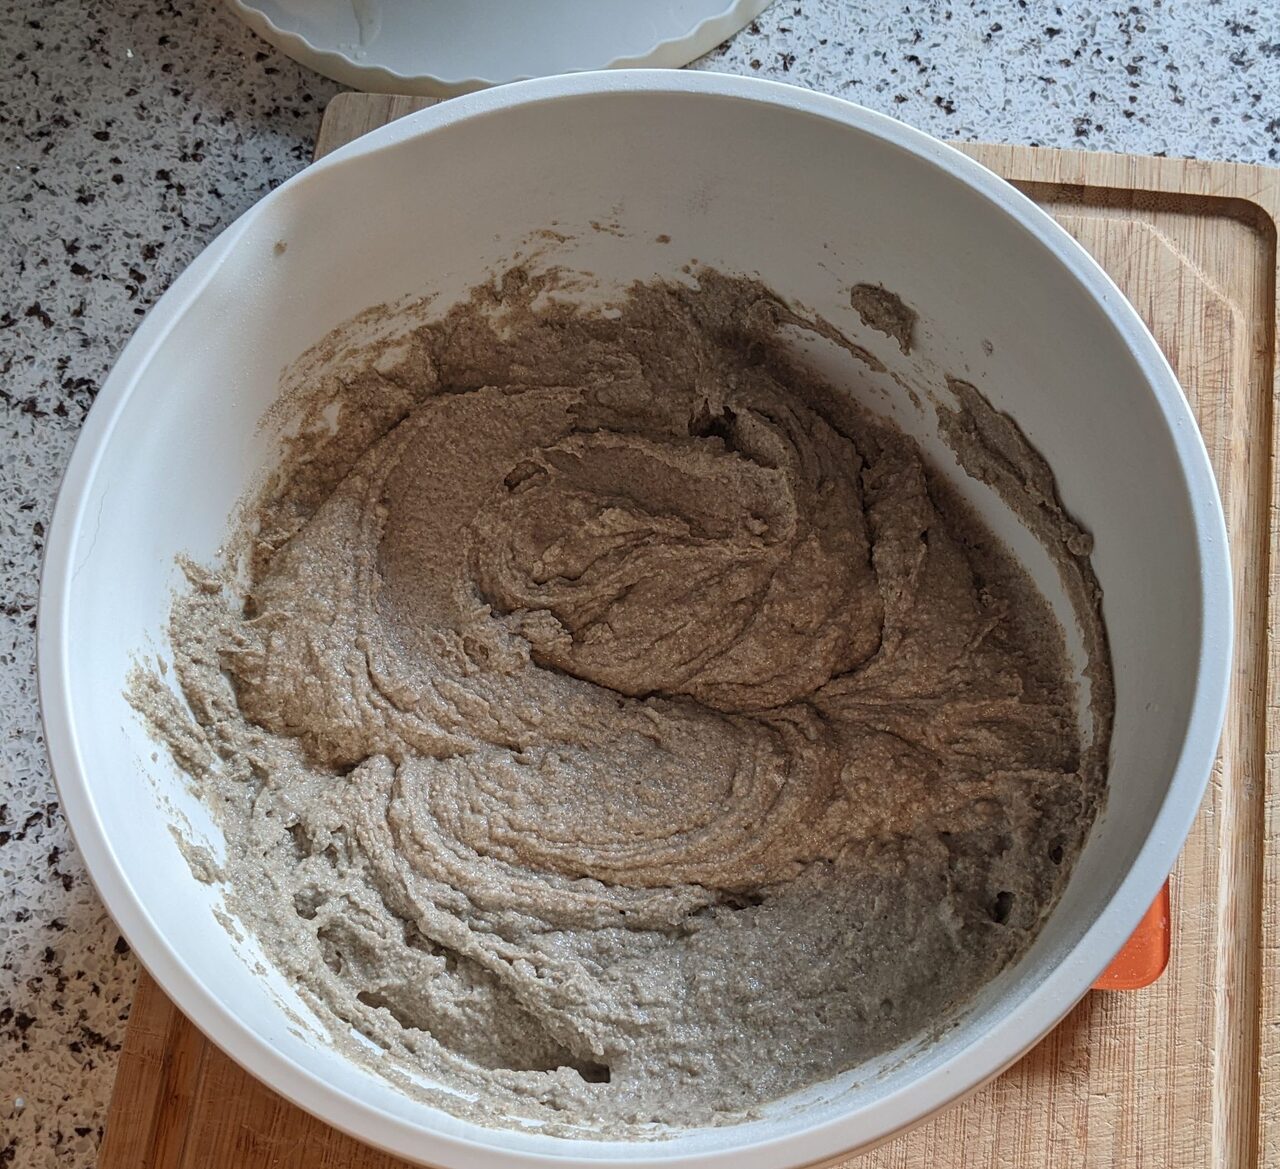
Mix
After mixing
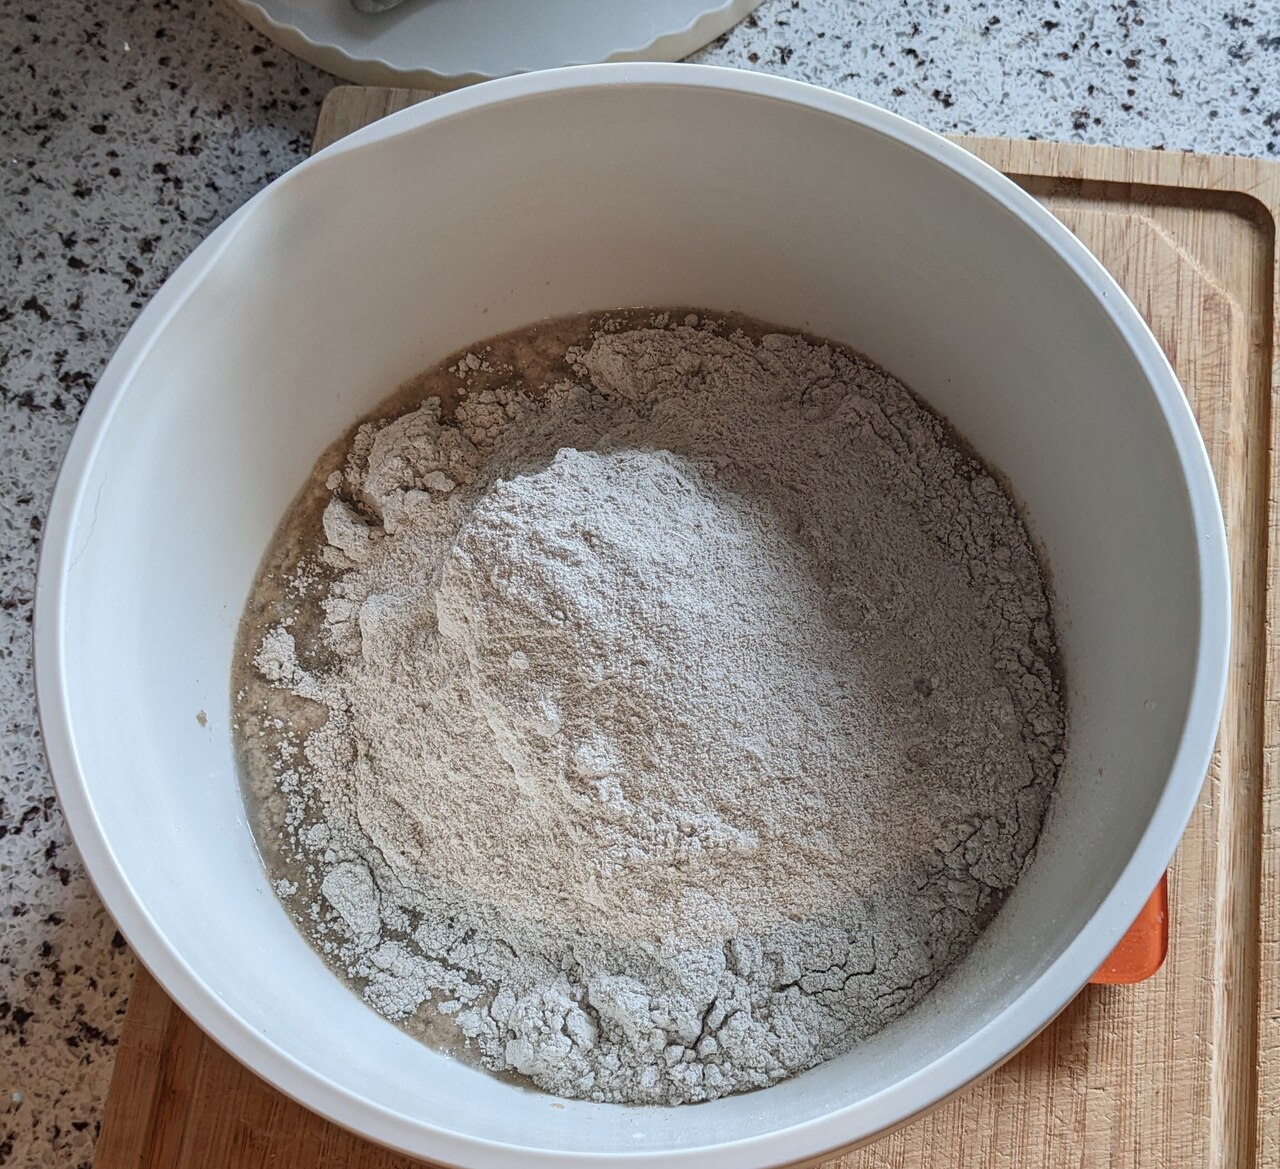
Add rye flour, then mix very well
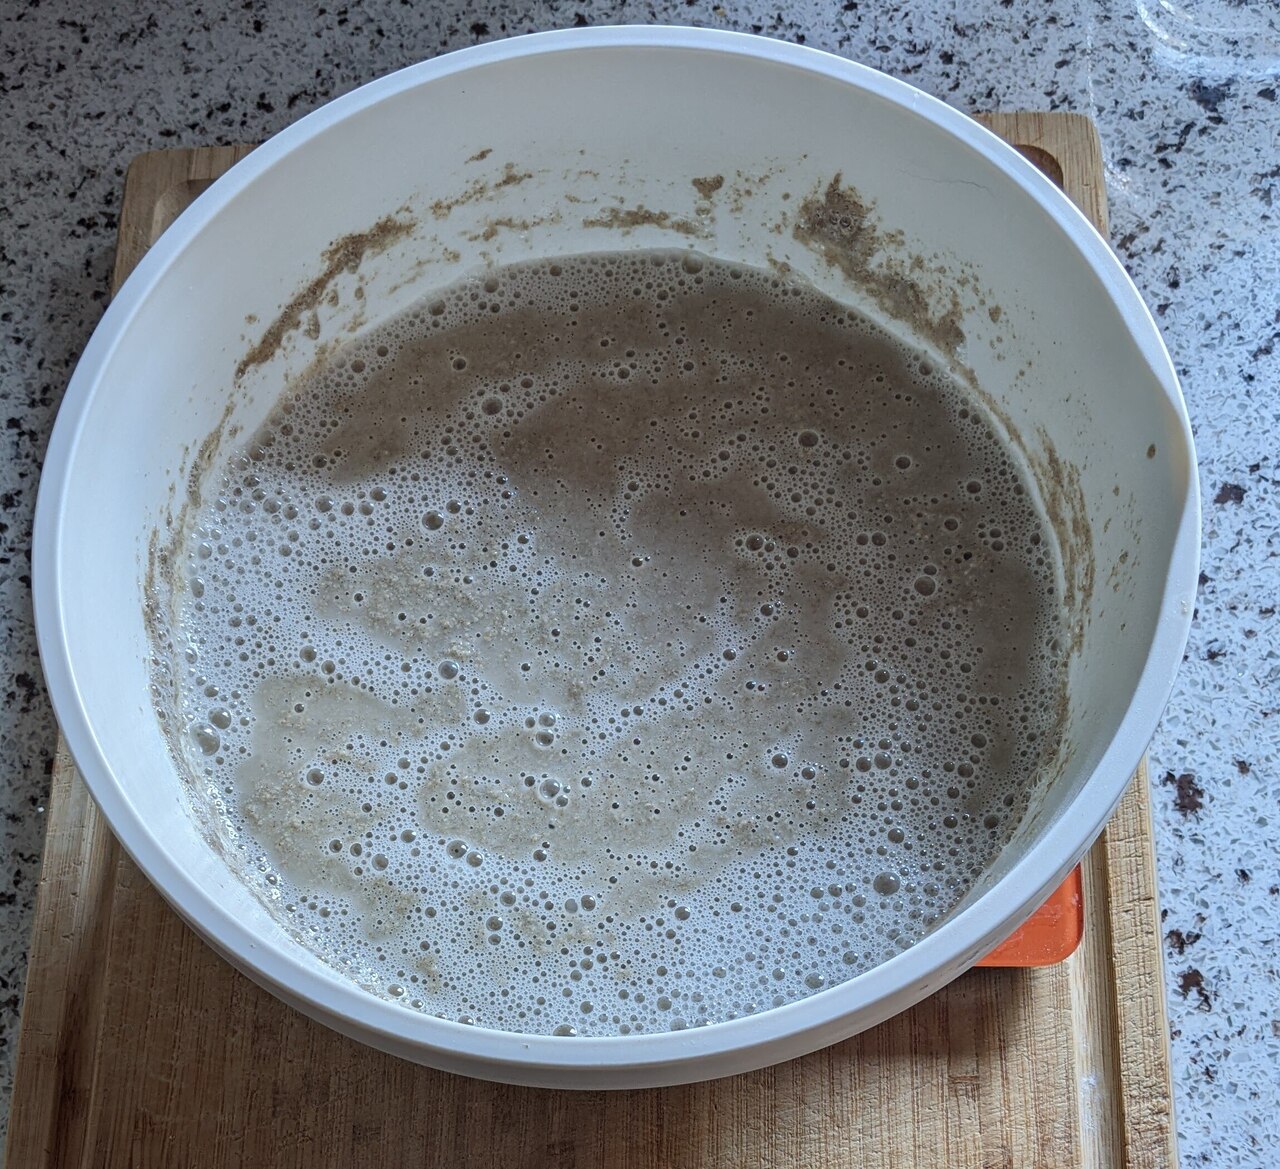
After mixing. Cover, then let rest for 8 to 12 hours
Main Dough
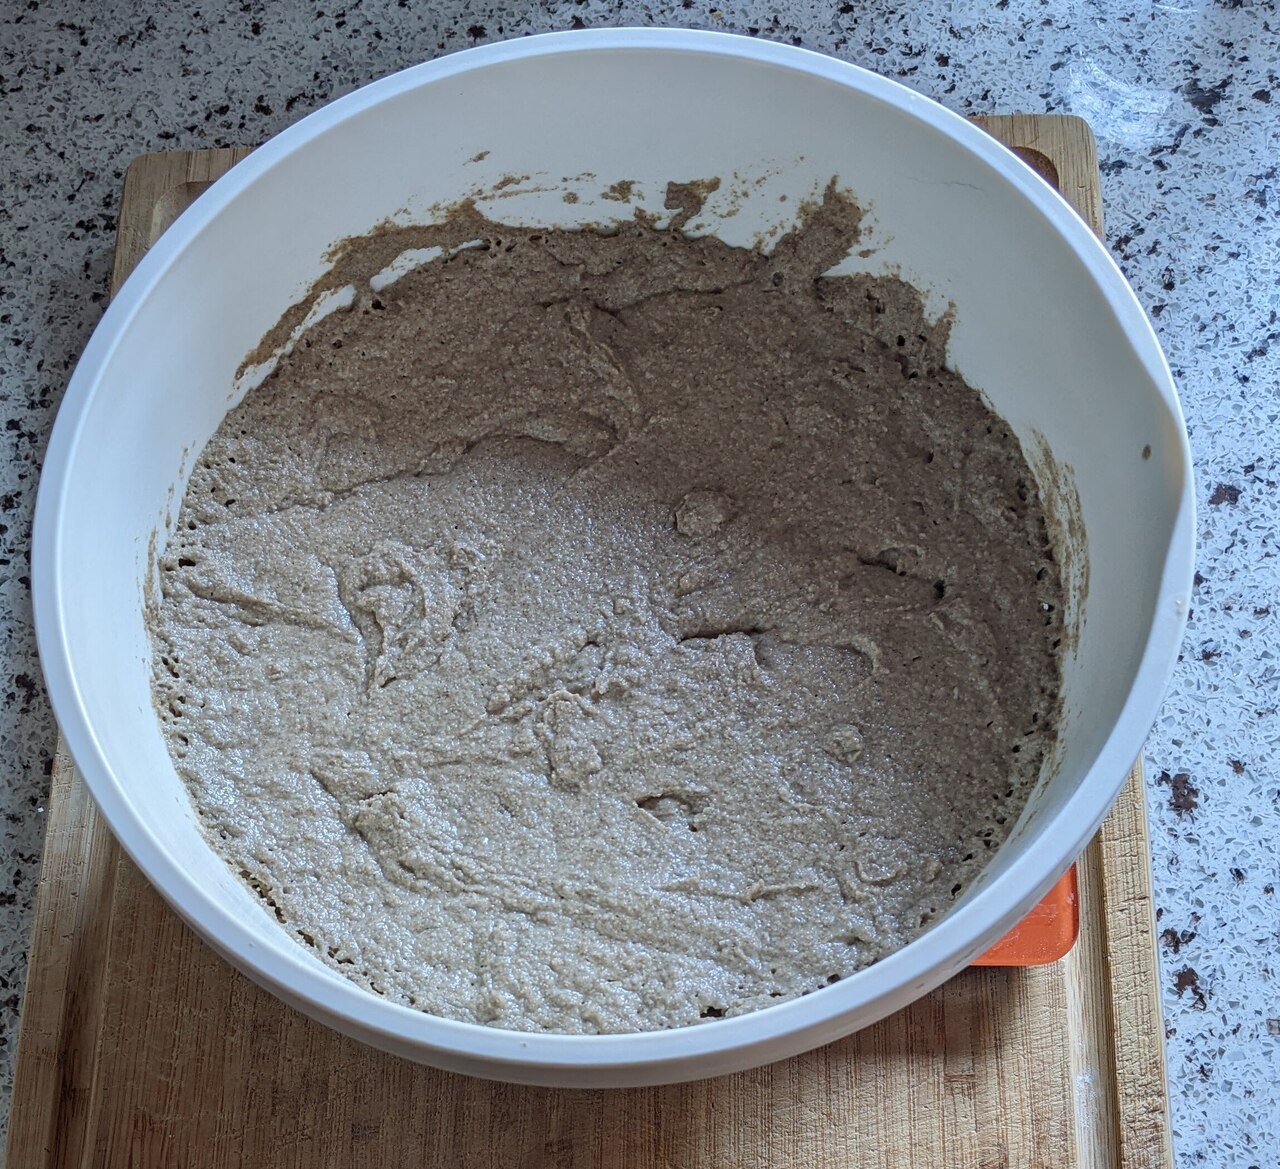
The pre dough has risen. Ideally the middle is slightly elevated and has not yet fallen in (the dough in this picture was not given enough time)

Add non-chlorinated water
Add salt and mix.
After mixing
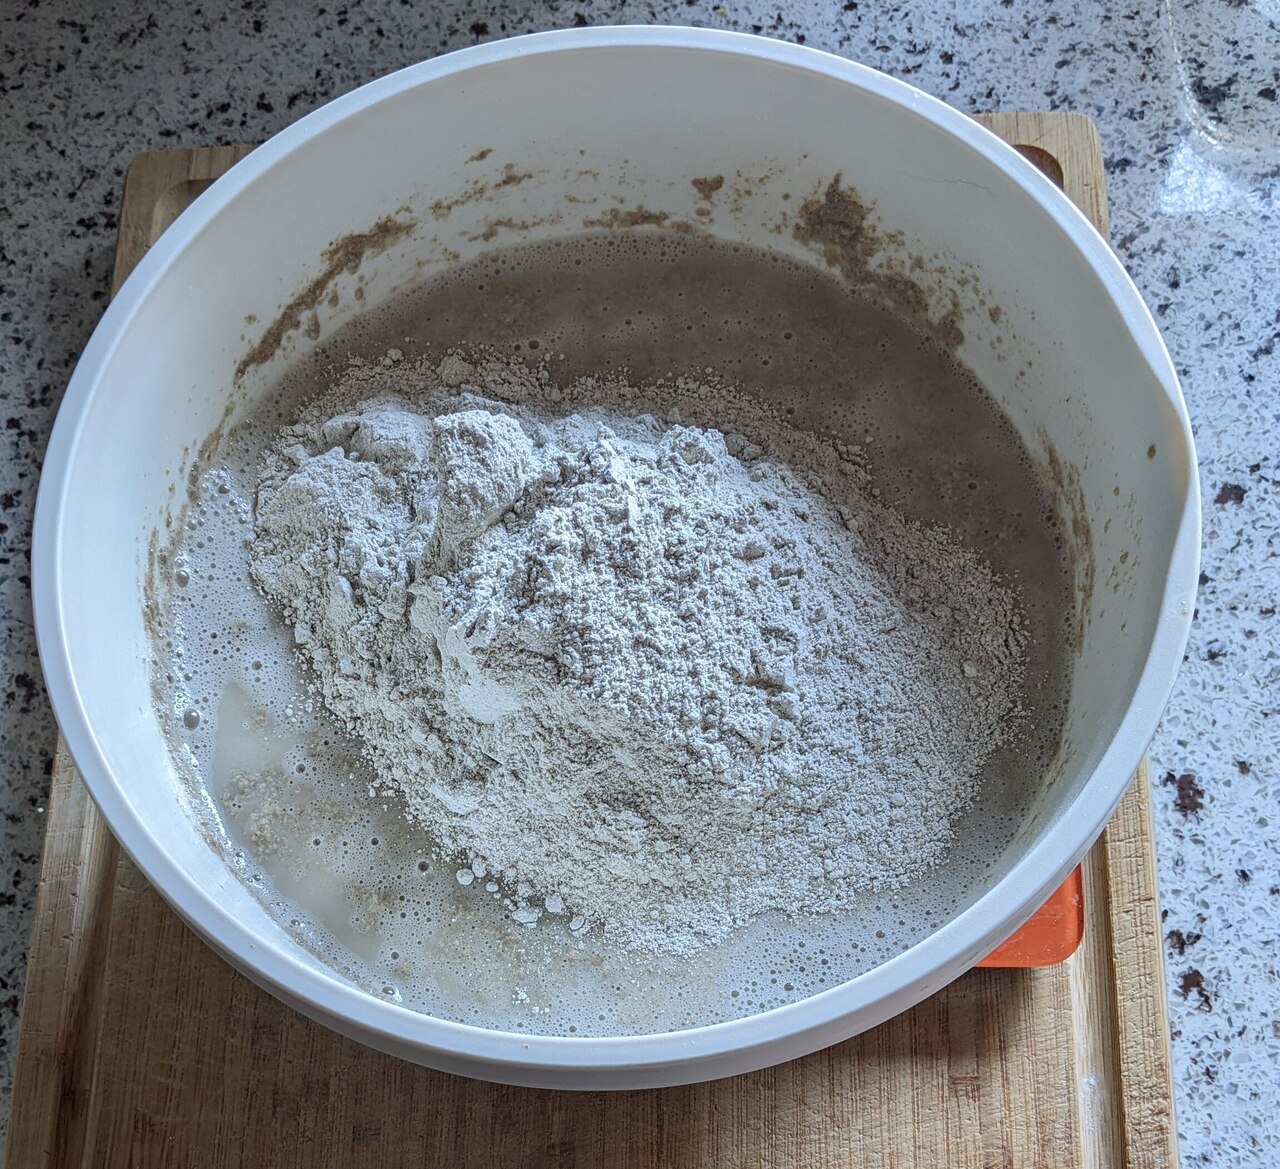
Add rye flour

Add bread flour
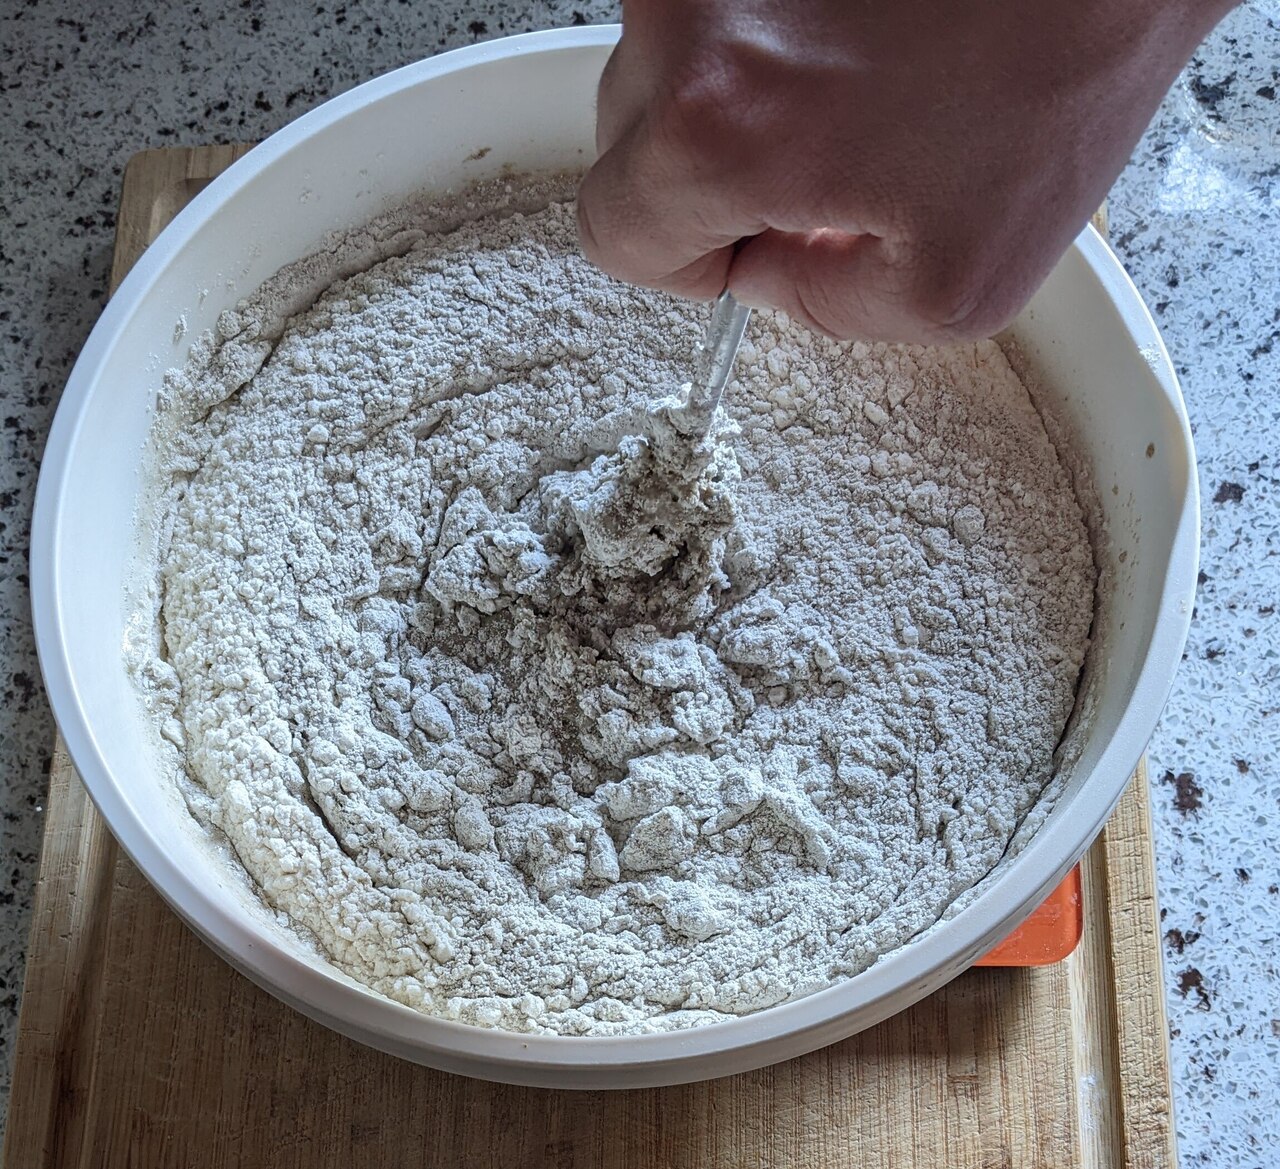
Mix very well
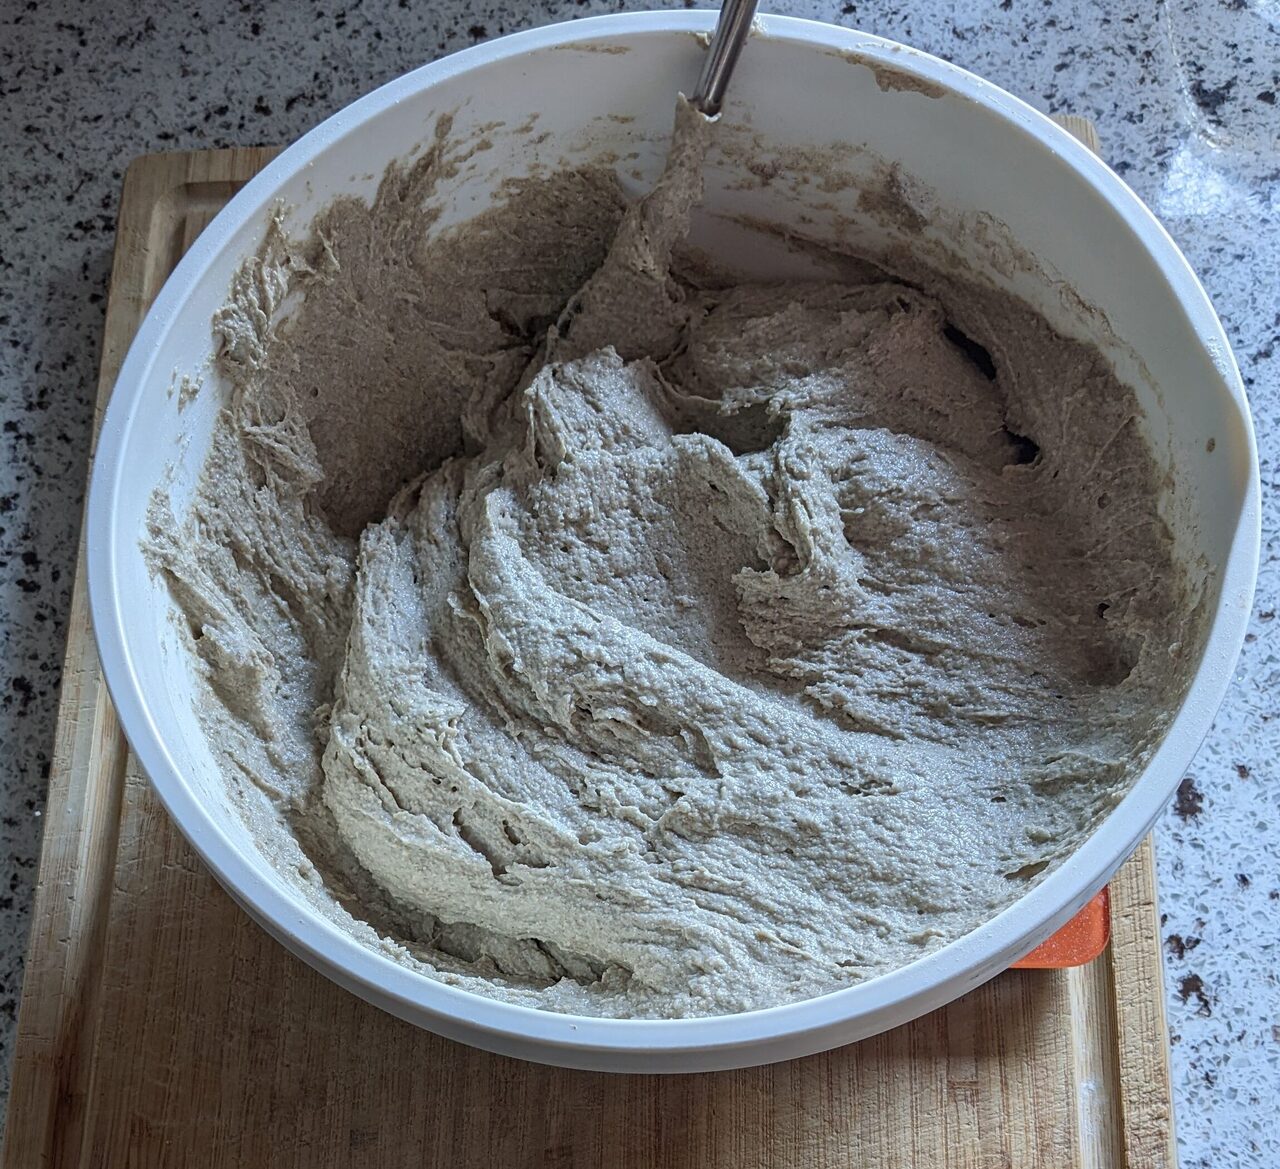
After mixing. Dough has a soft consistency.
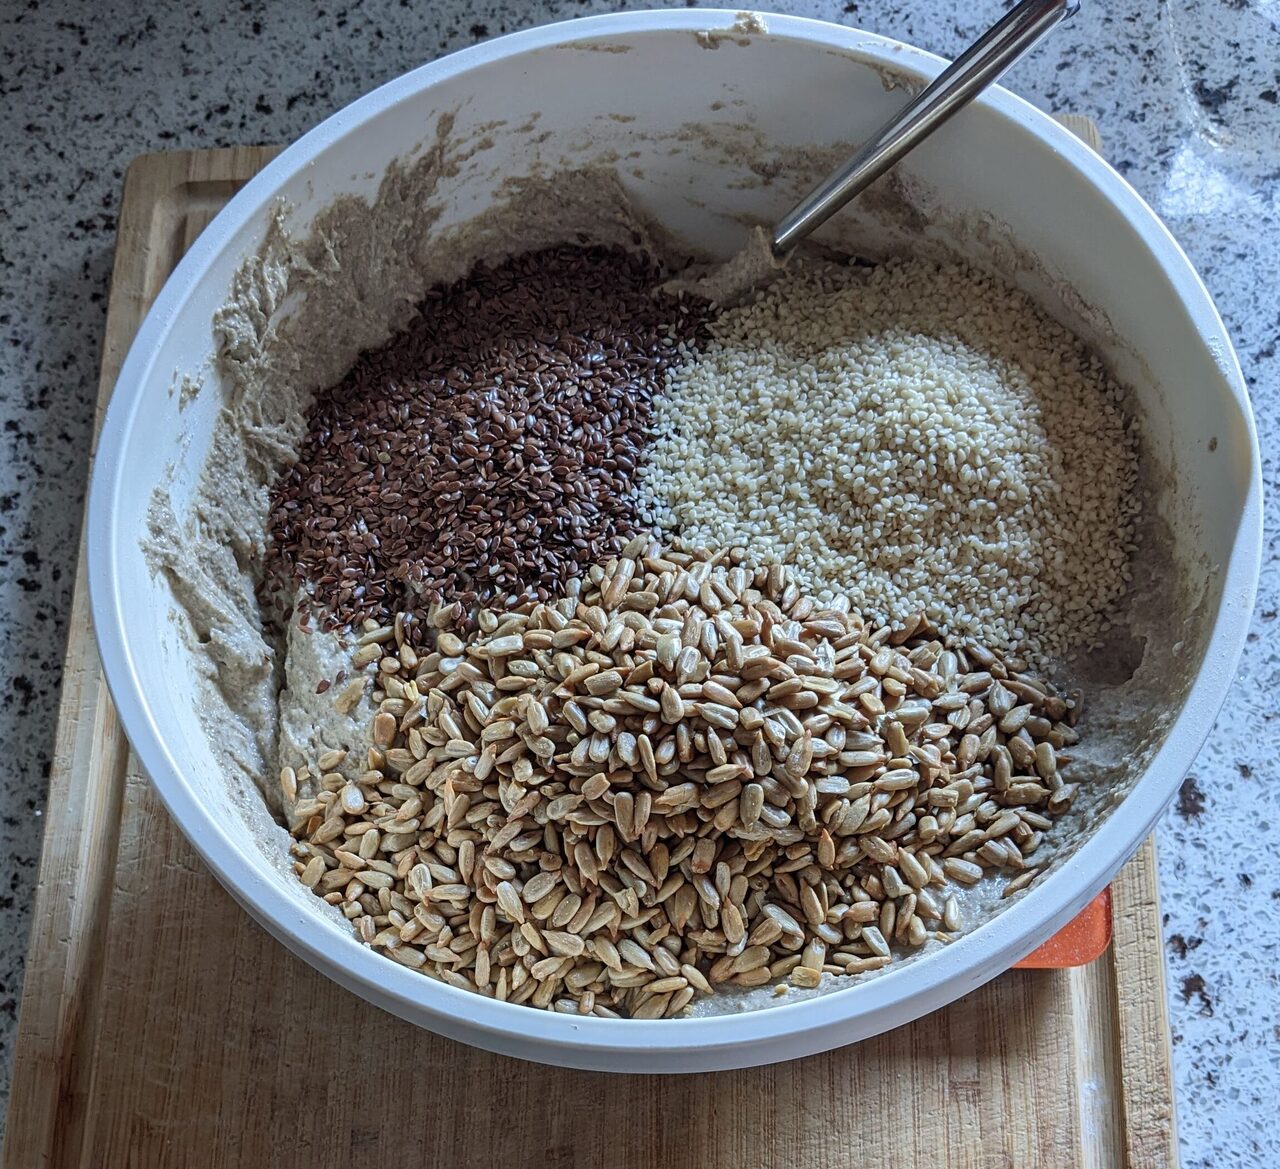
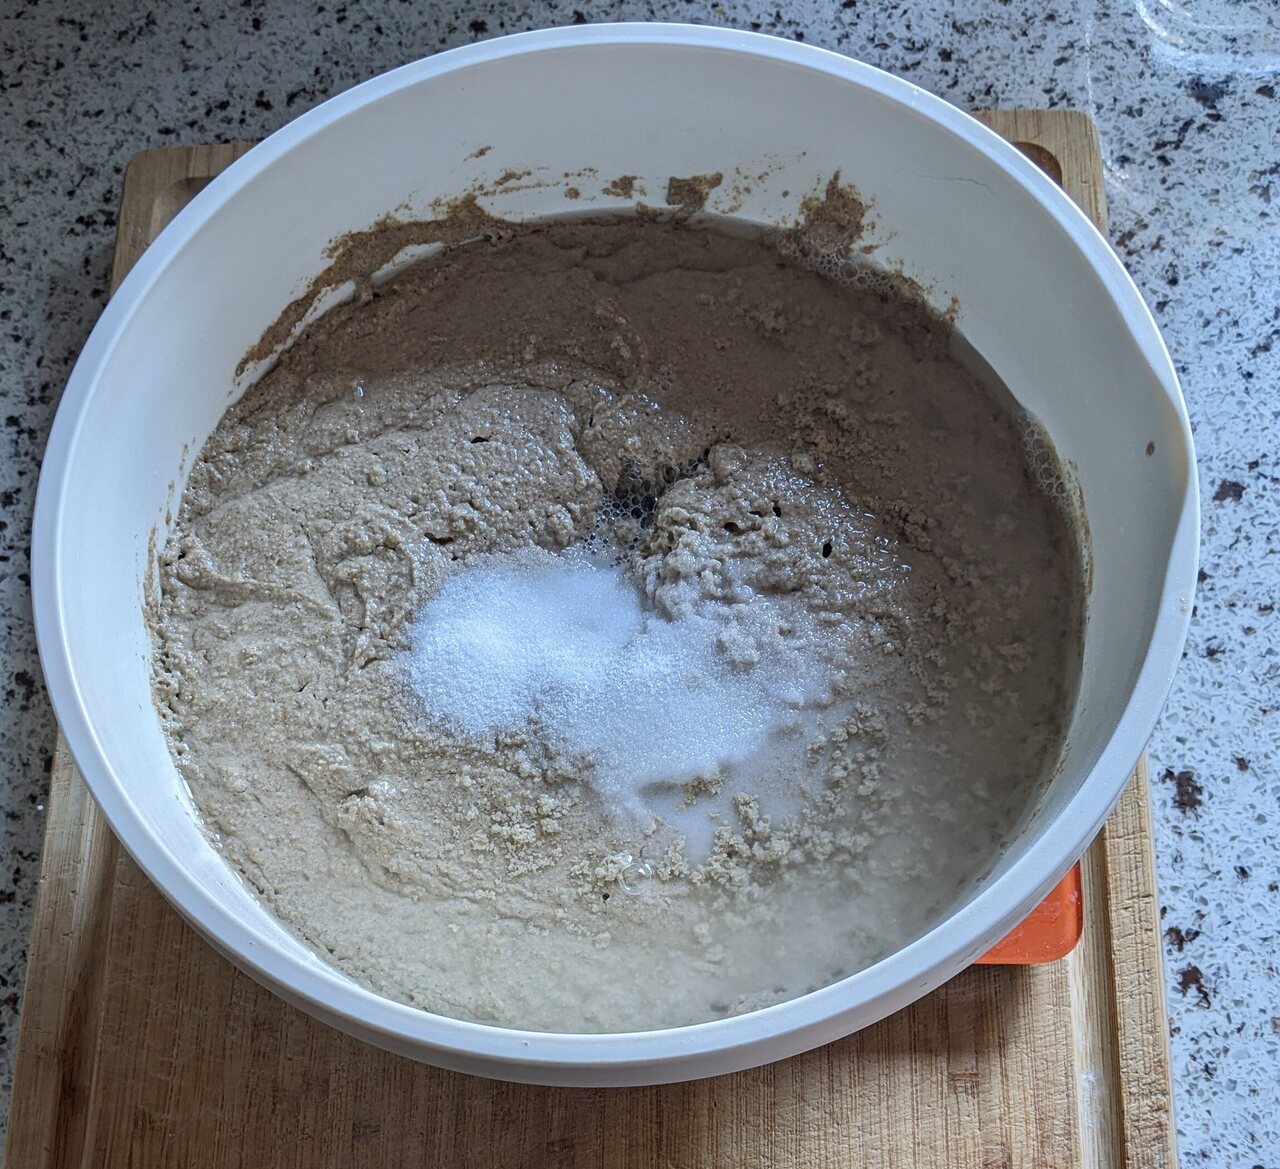
Add seeds
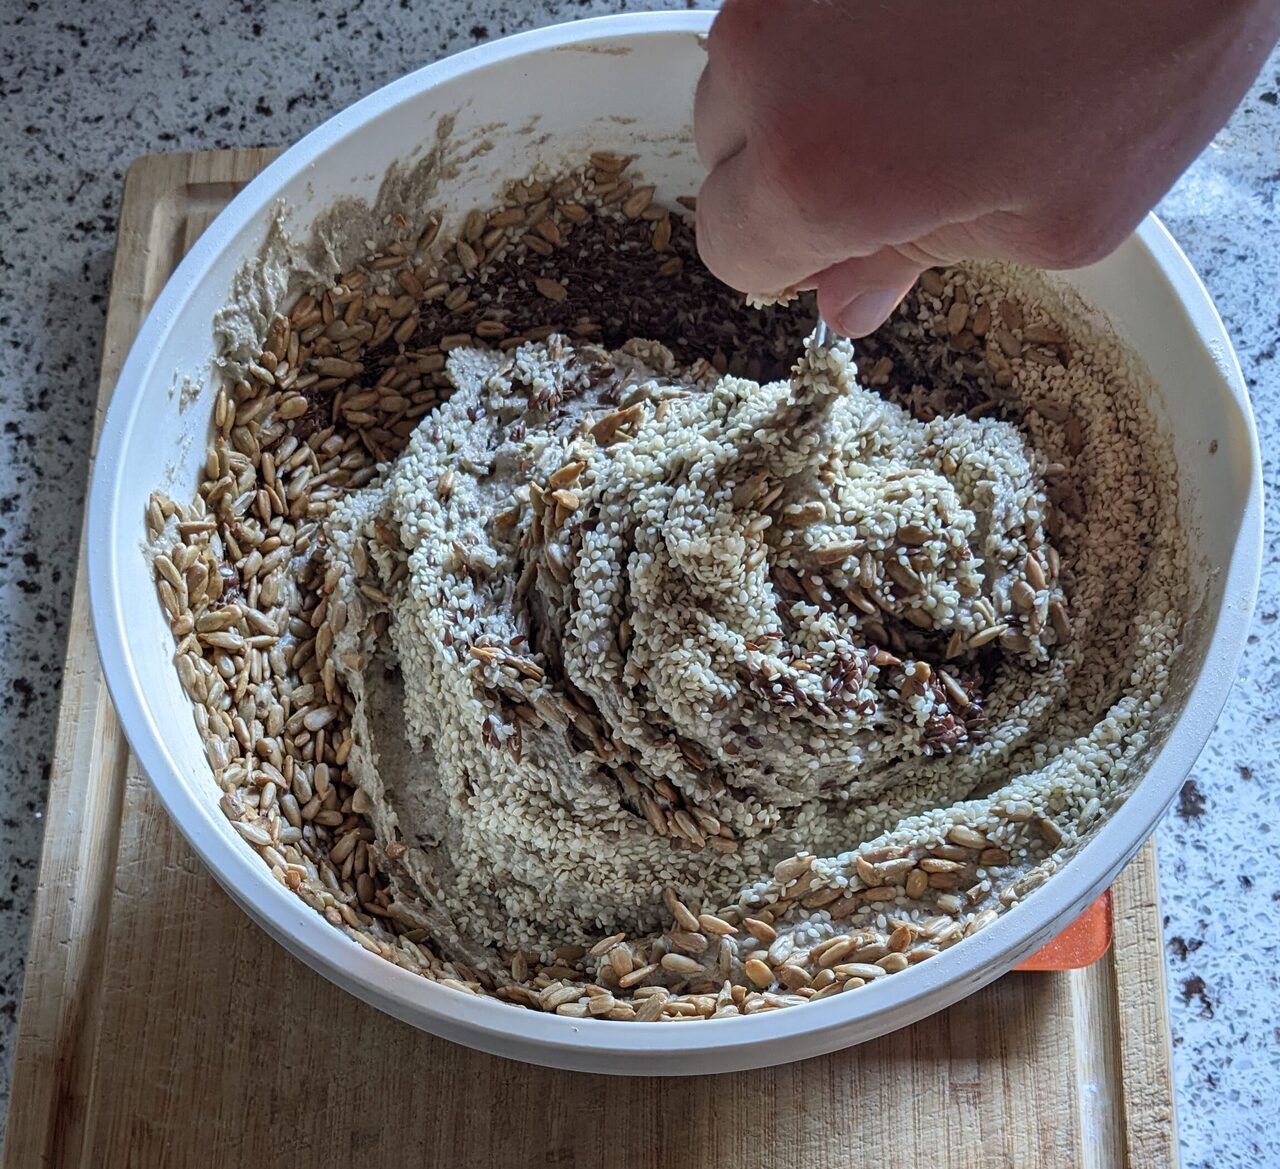
Mix very well
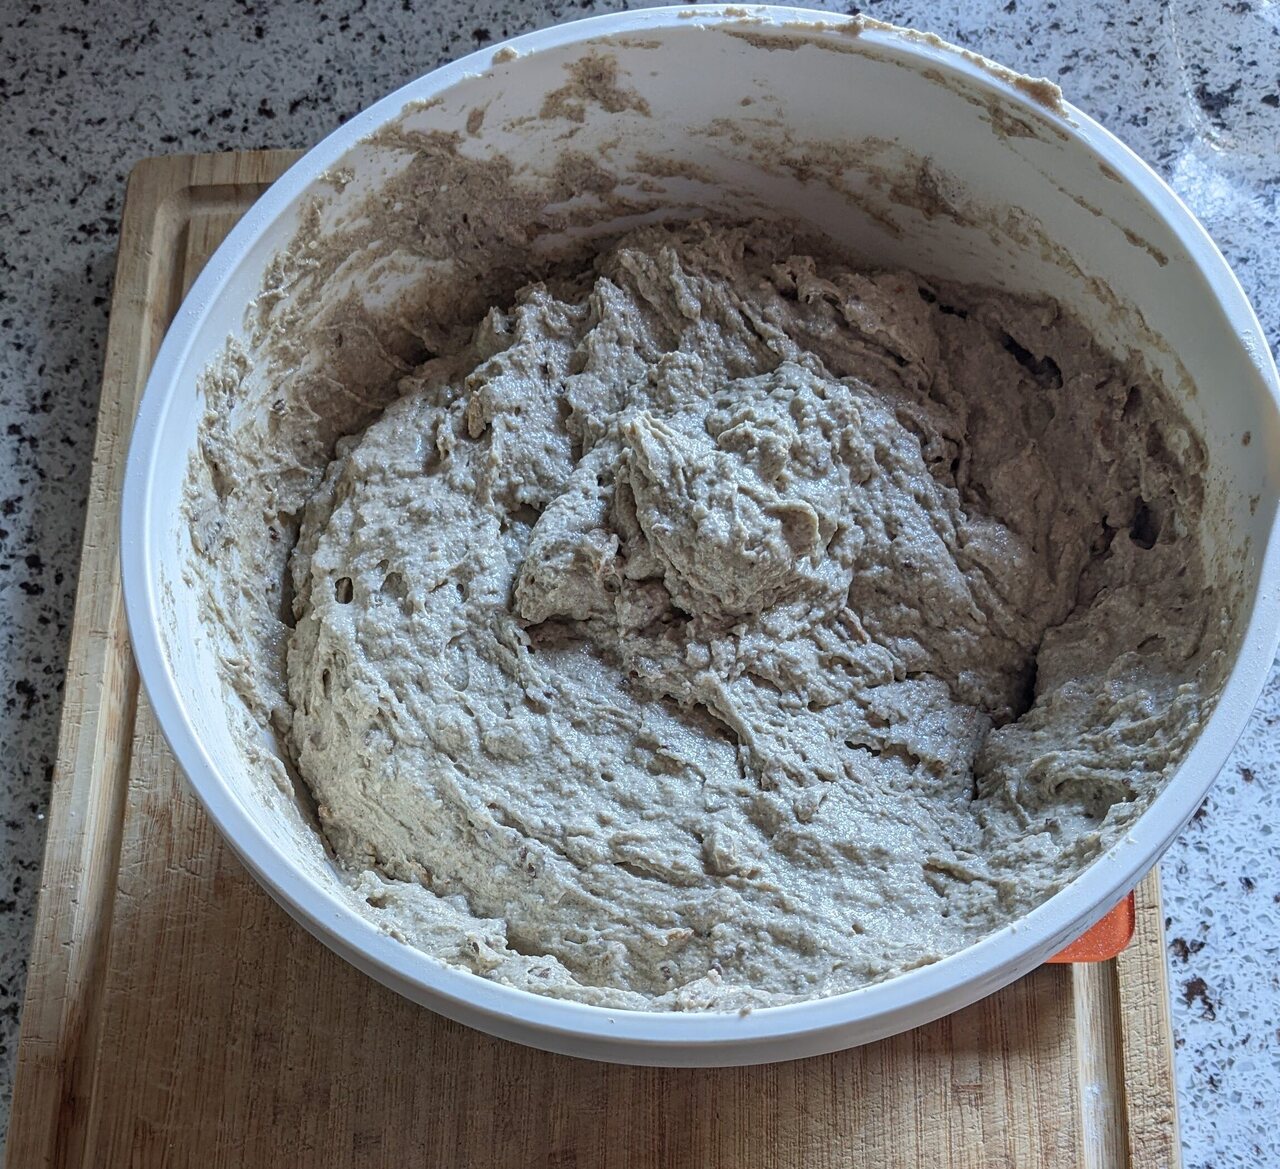
After mixing. Cover, then let rest for about 3 hours
Baking
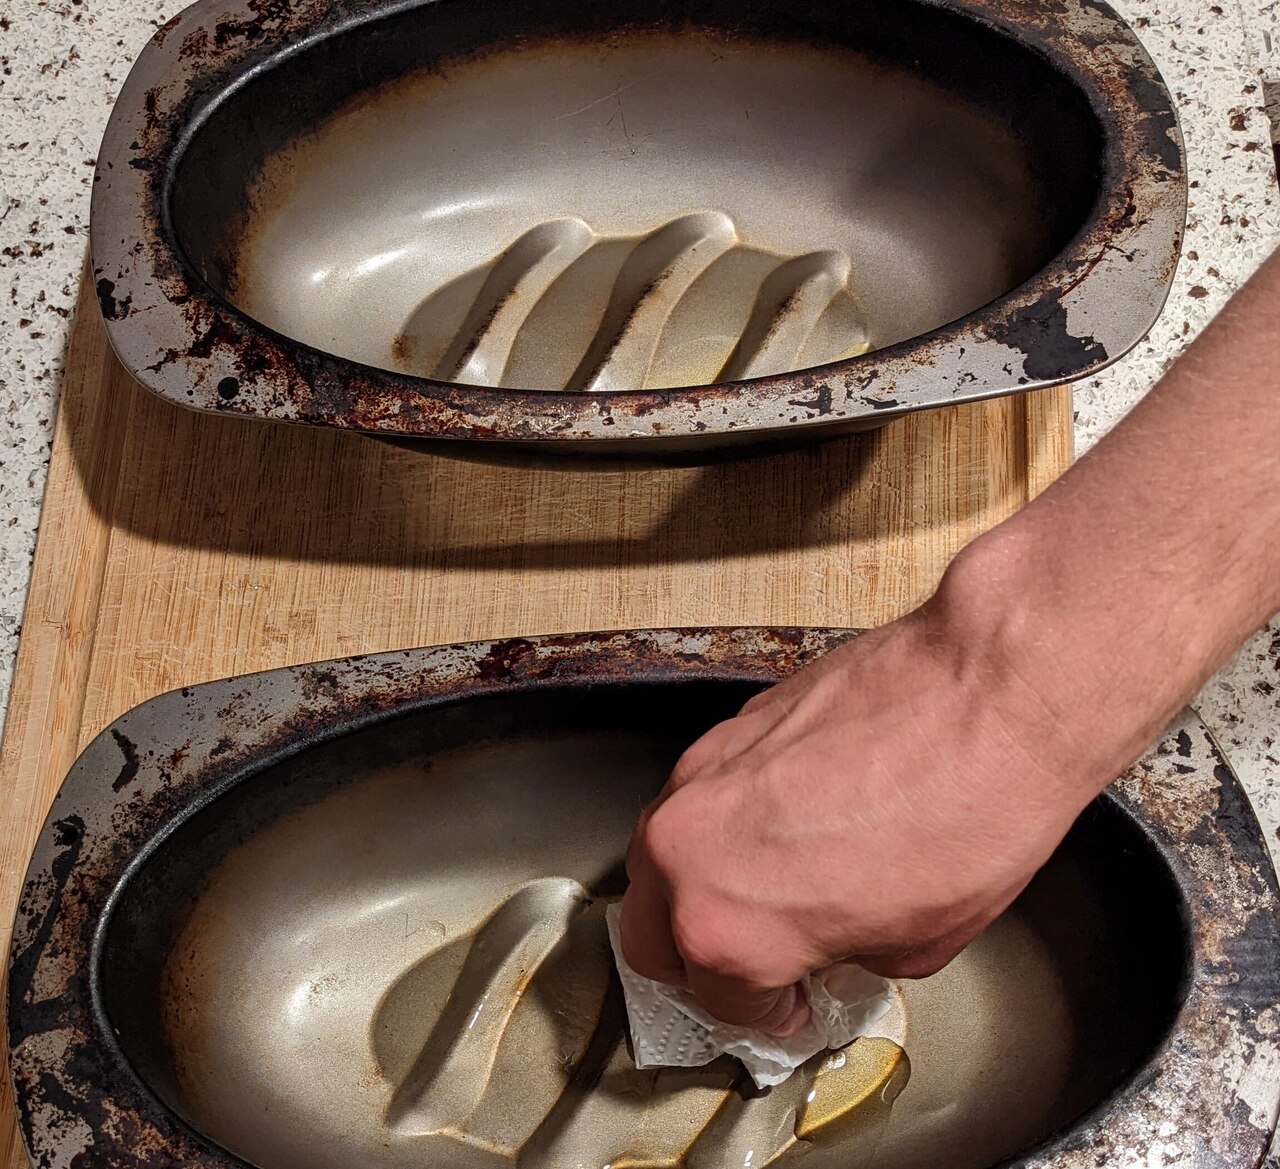
Oil the moulds
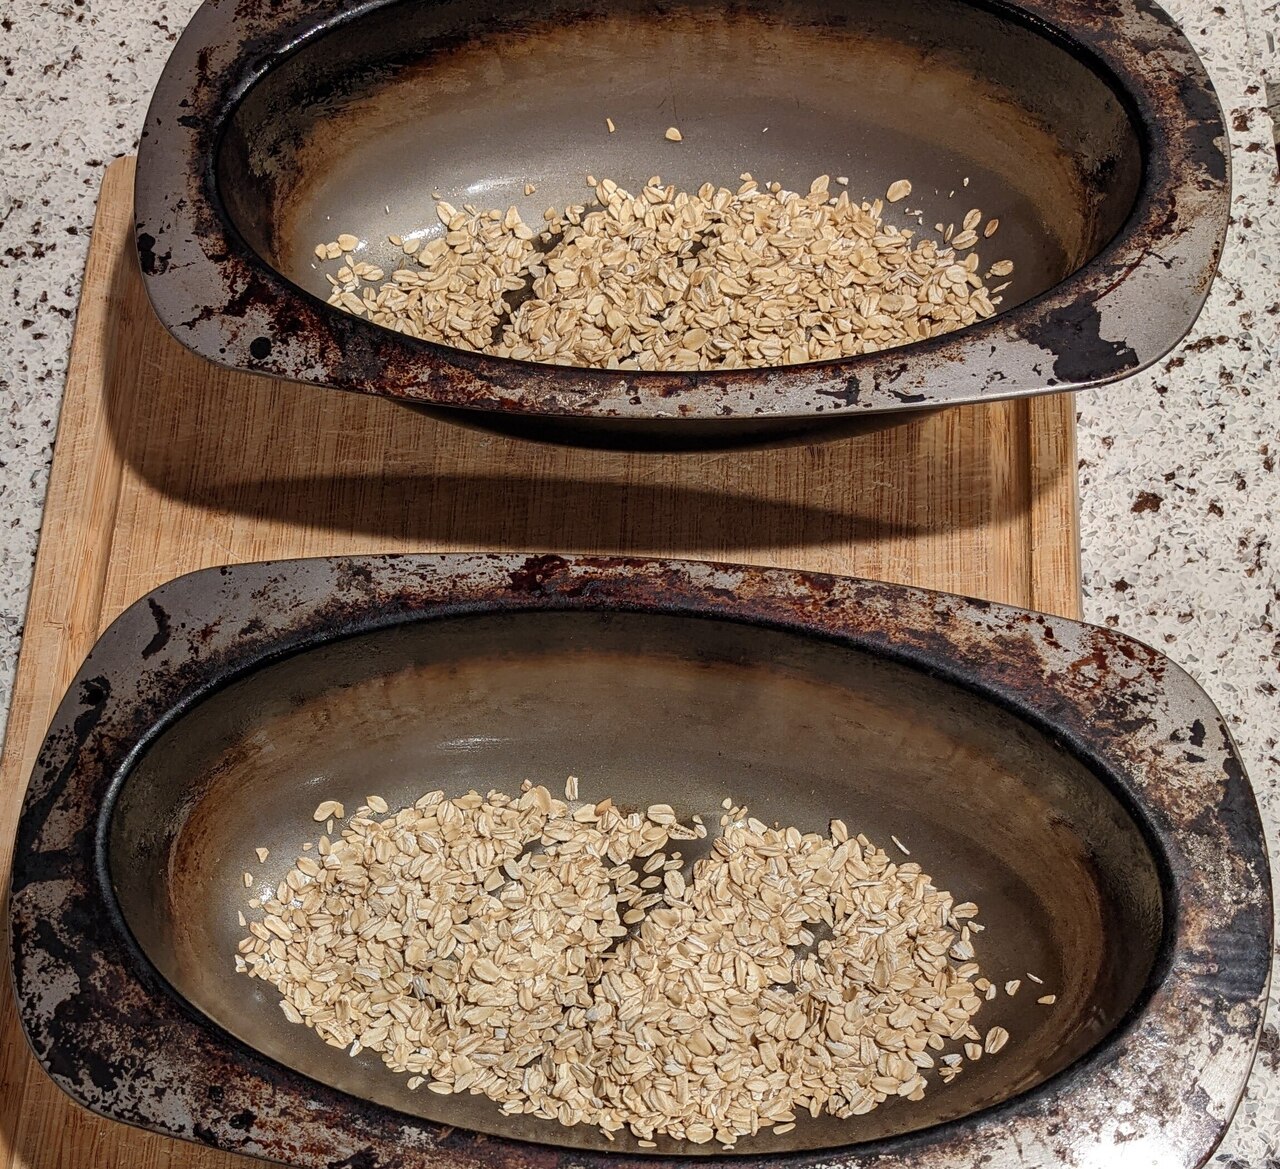
Add oats to prevent the bread from sticking in the mould
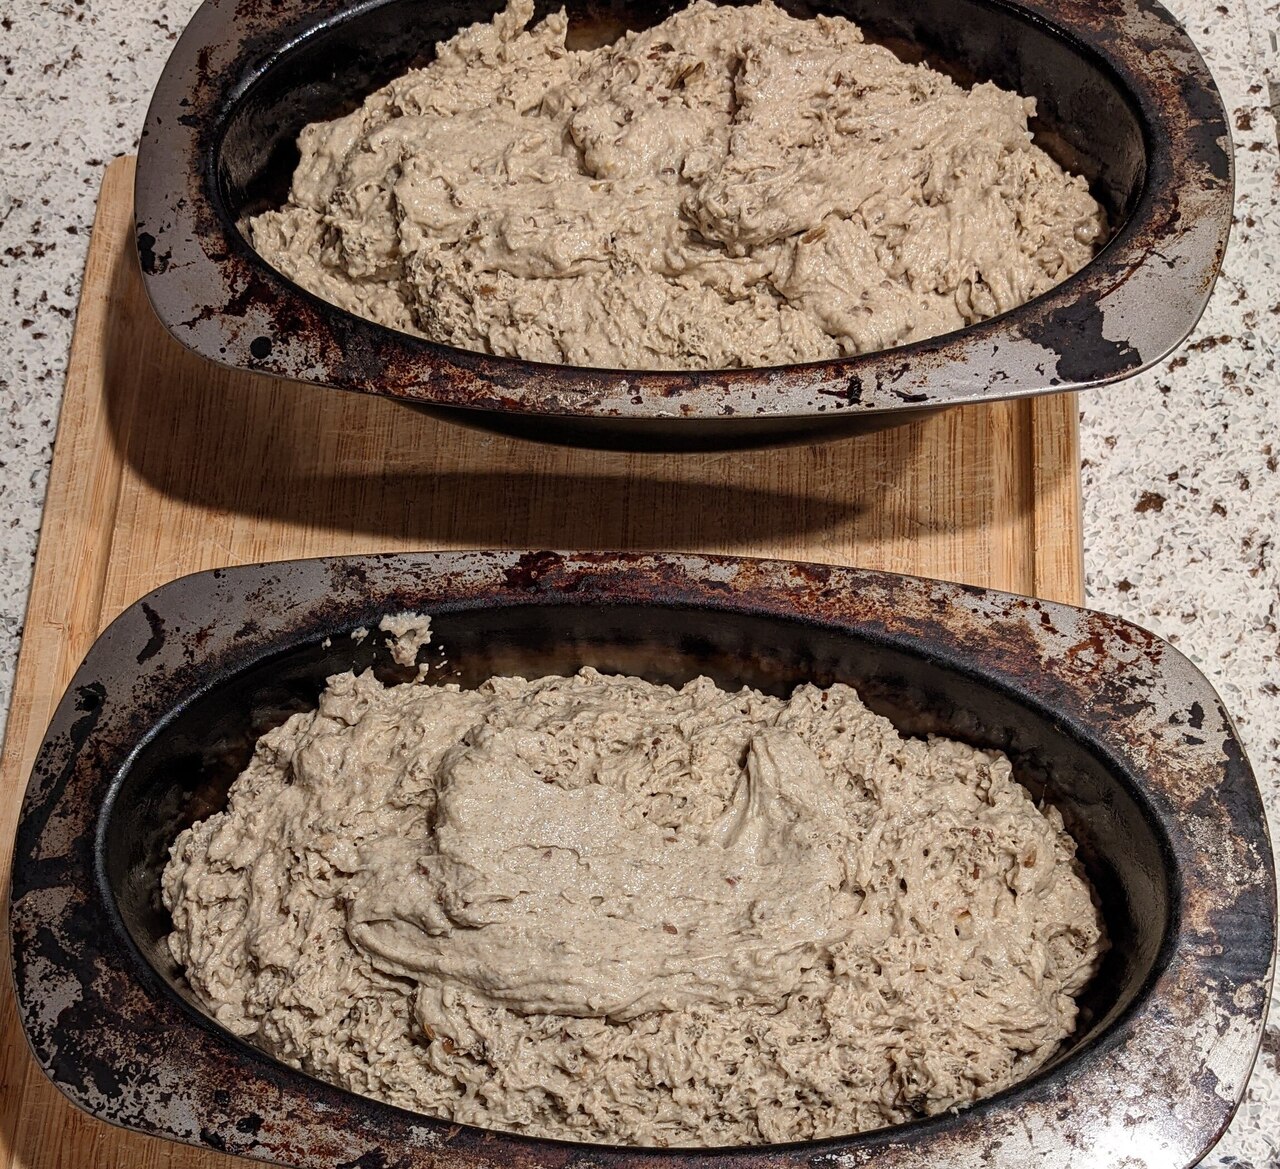
Carefully transfer the dough to the moulds
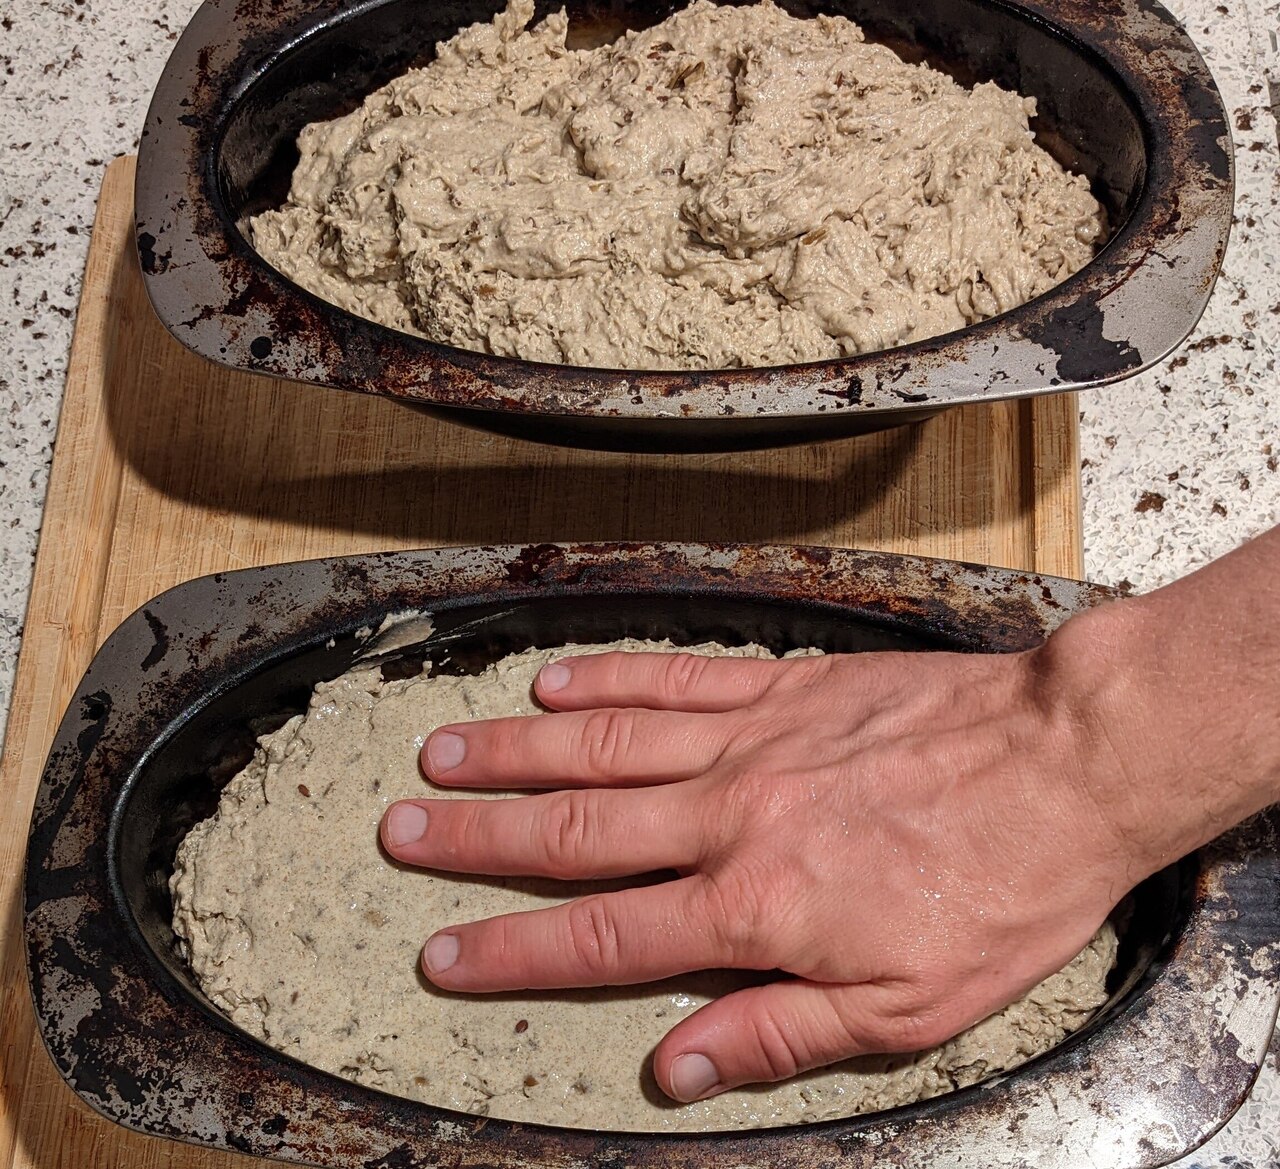
Optional: smoothen the surface with wet hands
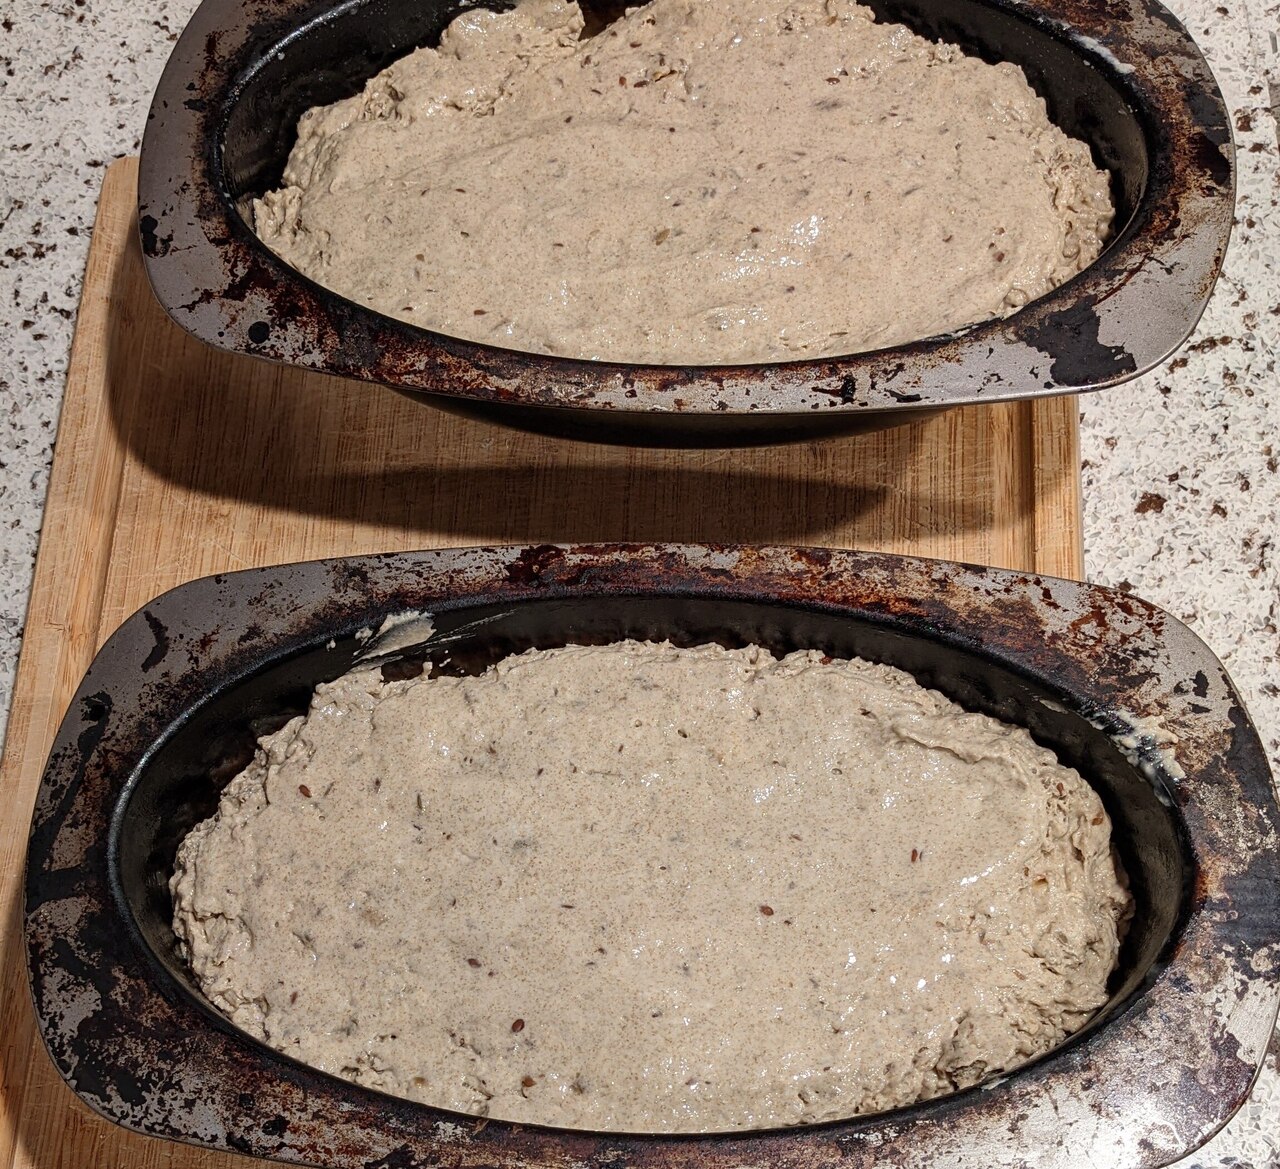
After smoothing
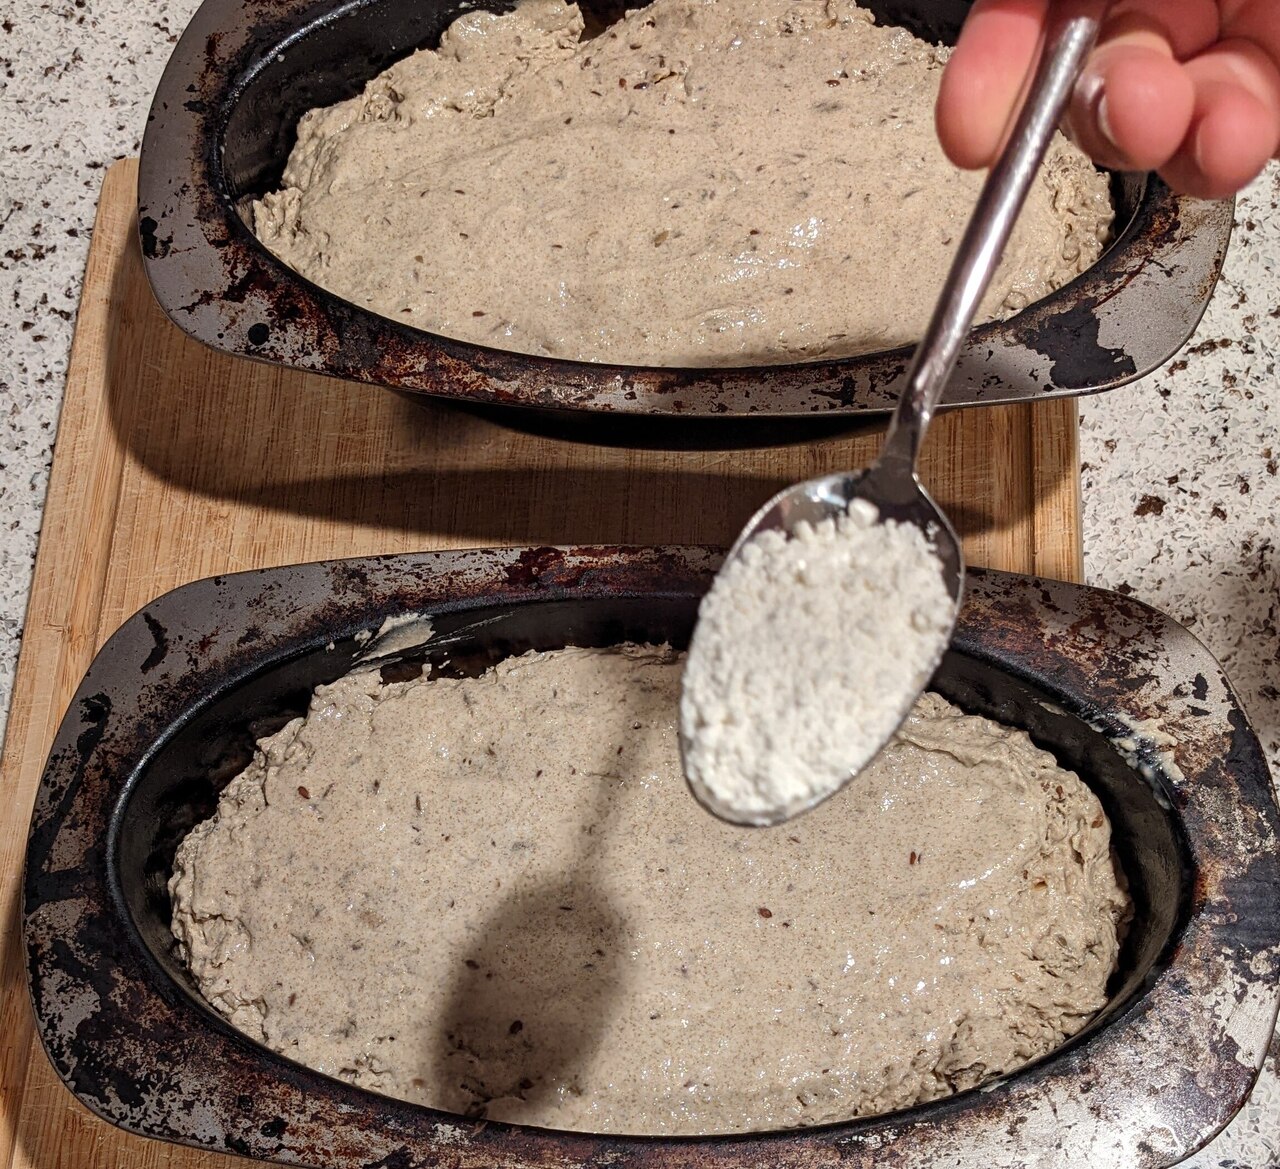
Sprinkle flour on top

Ready for baking. Transfer to pre-heated oven, then bake.
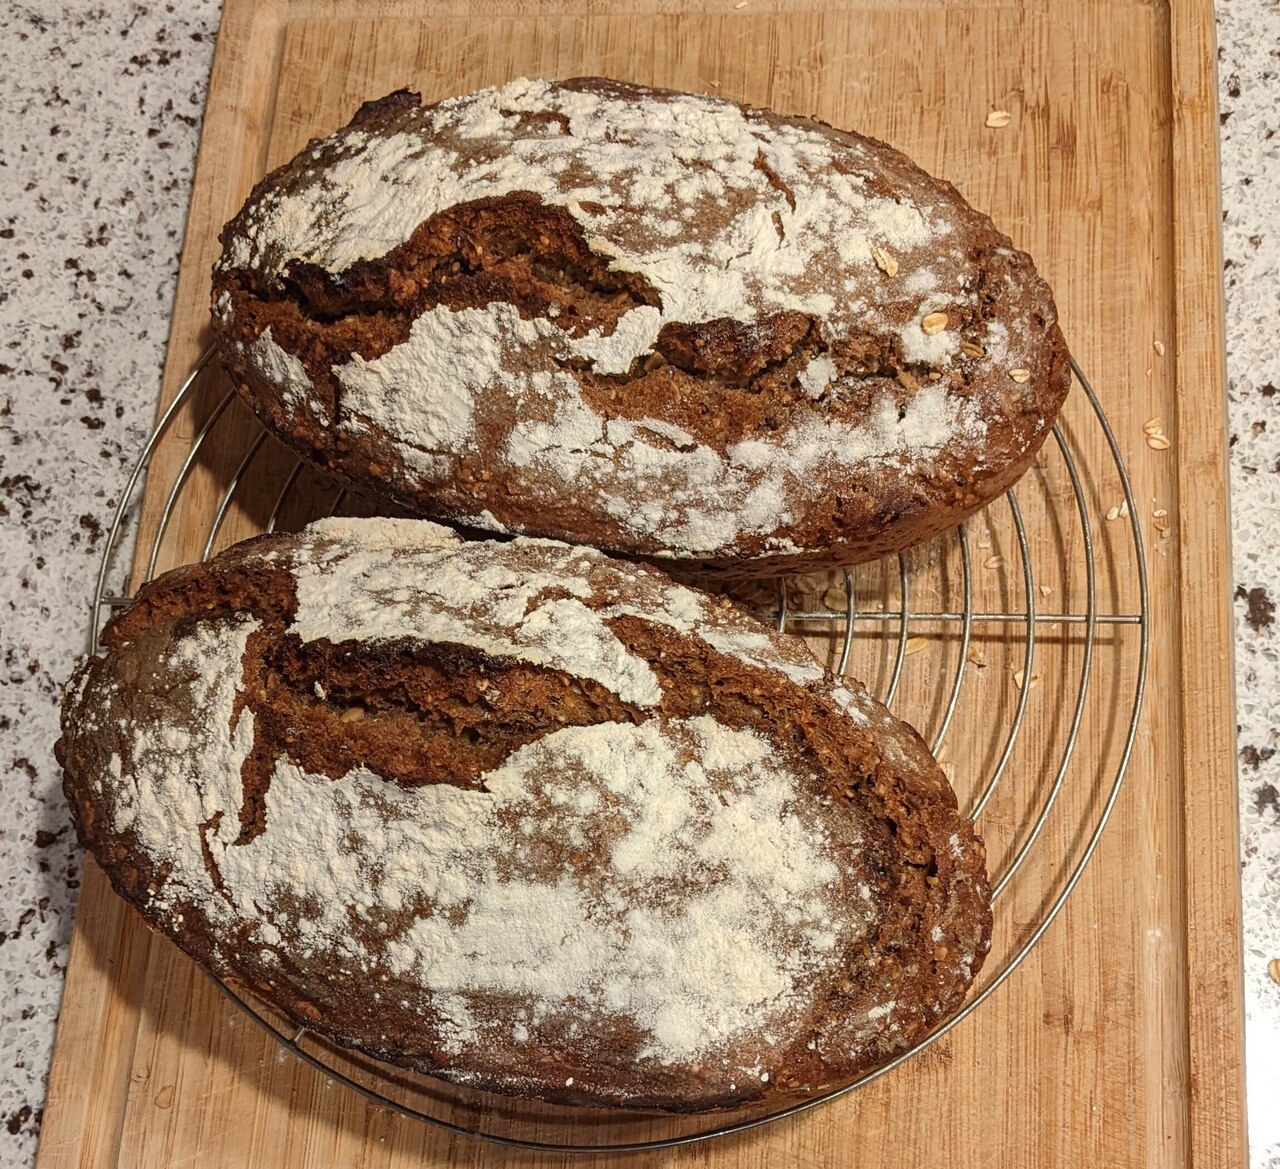
After baking cool down on cooling rack
Problems and solutions
- Sourdough starter smells very bad and especially not sour. Or has black spots.
- make sure you use non-chlorinated water. This is really crucial
- in doubt start all over again
- bread is burned on the outside, not done inside
- reduce both temperatures
- if you have an oven thermometer the target inner temperature is 97…98 °C
- by knocking on the bread you can also hear when it’s done, it should sound hollow
- bread looks good but is too dry
- reduce each baking time a bit. This especially applies if your loaves are smaller than mine
- alternatively add more water to the main dough
- experiment which of these two approaches works better
- bread is too hard and does not have fine pores
- there’s not enough yeast in your sourdough starter. Create a new one as described above but it it rest at a (much) warmer temperature than usual.
- bread is not sour enough
- same as above, just use a (much) colder temperature than usual.
- bread is stuck in the mould
- use a plastic knife or spoon to loosen it. You can also wait 15 minutes and then try again after it has cooled down a bit
- bread is too flat when baked without a mould
- you’ll need more tricks to bake a sourdough without a mould. I might write another article about that later
Buying ingredients
- Rye flour Great River Organic Milling - Dark Rye Flour. The 25 pound bag lasts for about 3 months if you bake this recipe every week
- Bread flour mix Organics - Bread Flour Unbleached Enriched
Experiment
Change this base recipe however you like. Try different kind of rye flour and bread flour mixes. Replace the seeds with different seeds. Change the amount of water in the main dough. Vary temperatures when letting the dough rest.
Enjoy and have fun!